| Port Mulgrave ~2000yds, NZ790177 |
| Back to 2nd February 2008. Port Mulgrave & Sandsend Line |
| Click on individual pictures to view a larger version in your browser or Download all 16 large pictures plus main 3 tunnel map (filesize = 4.84MB) |
 |
 |
 |
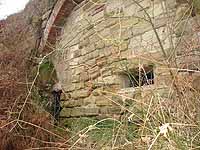 |
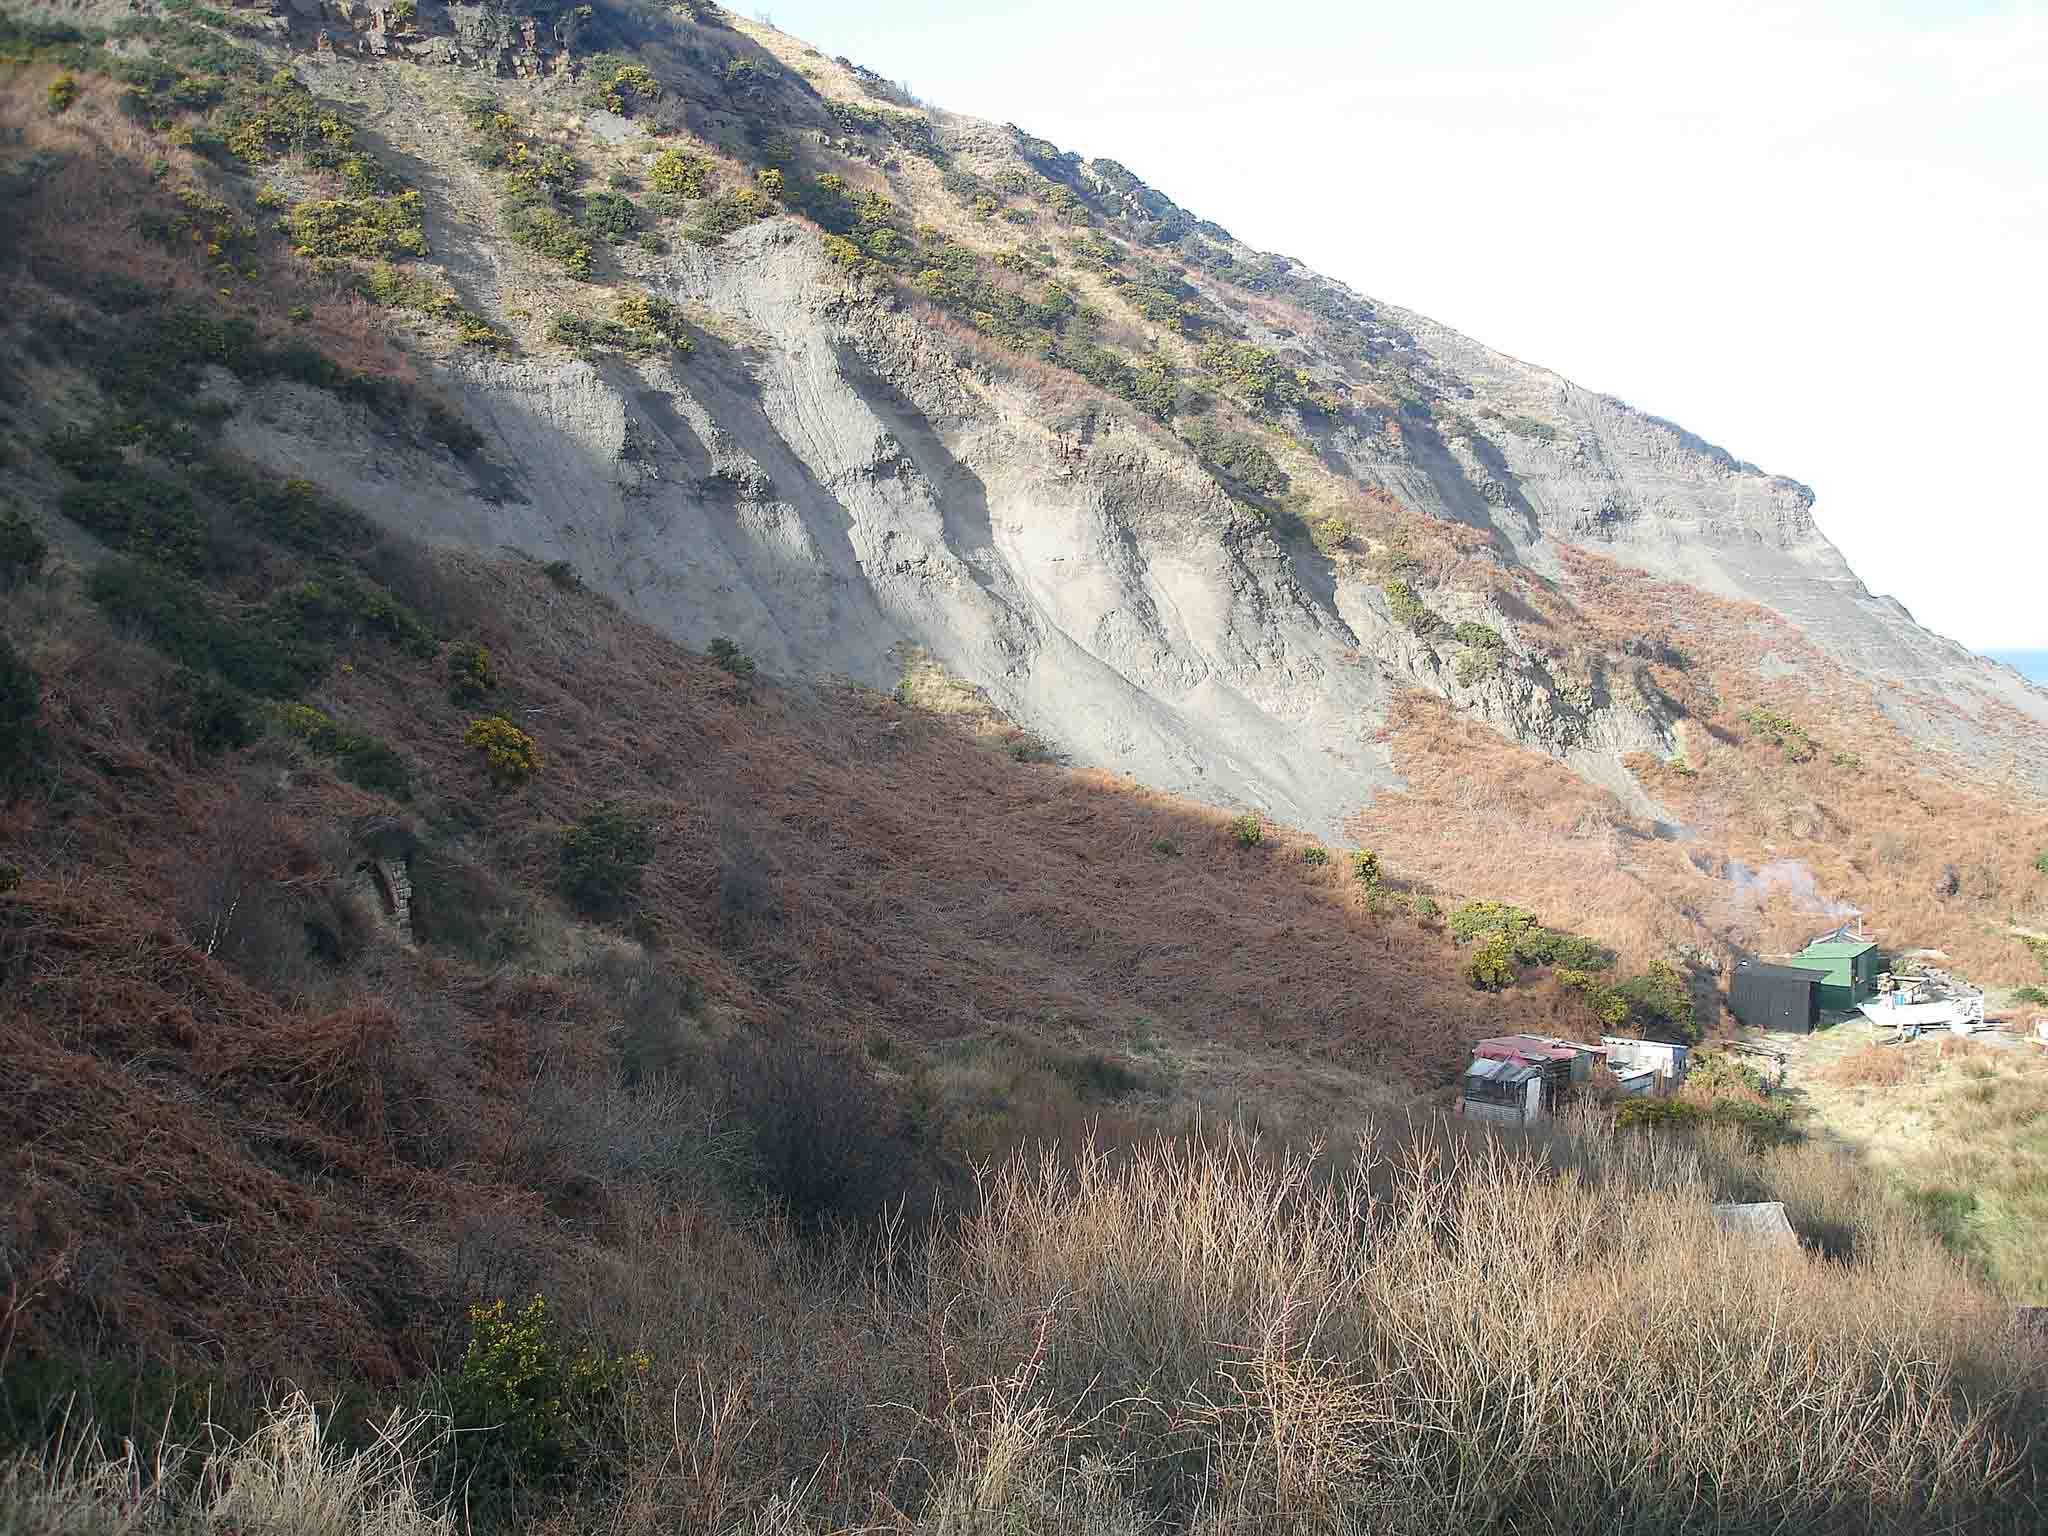
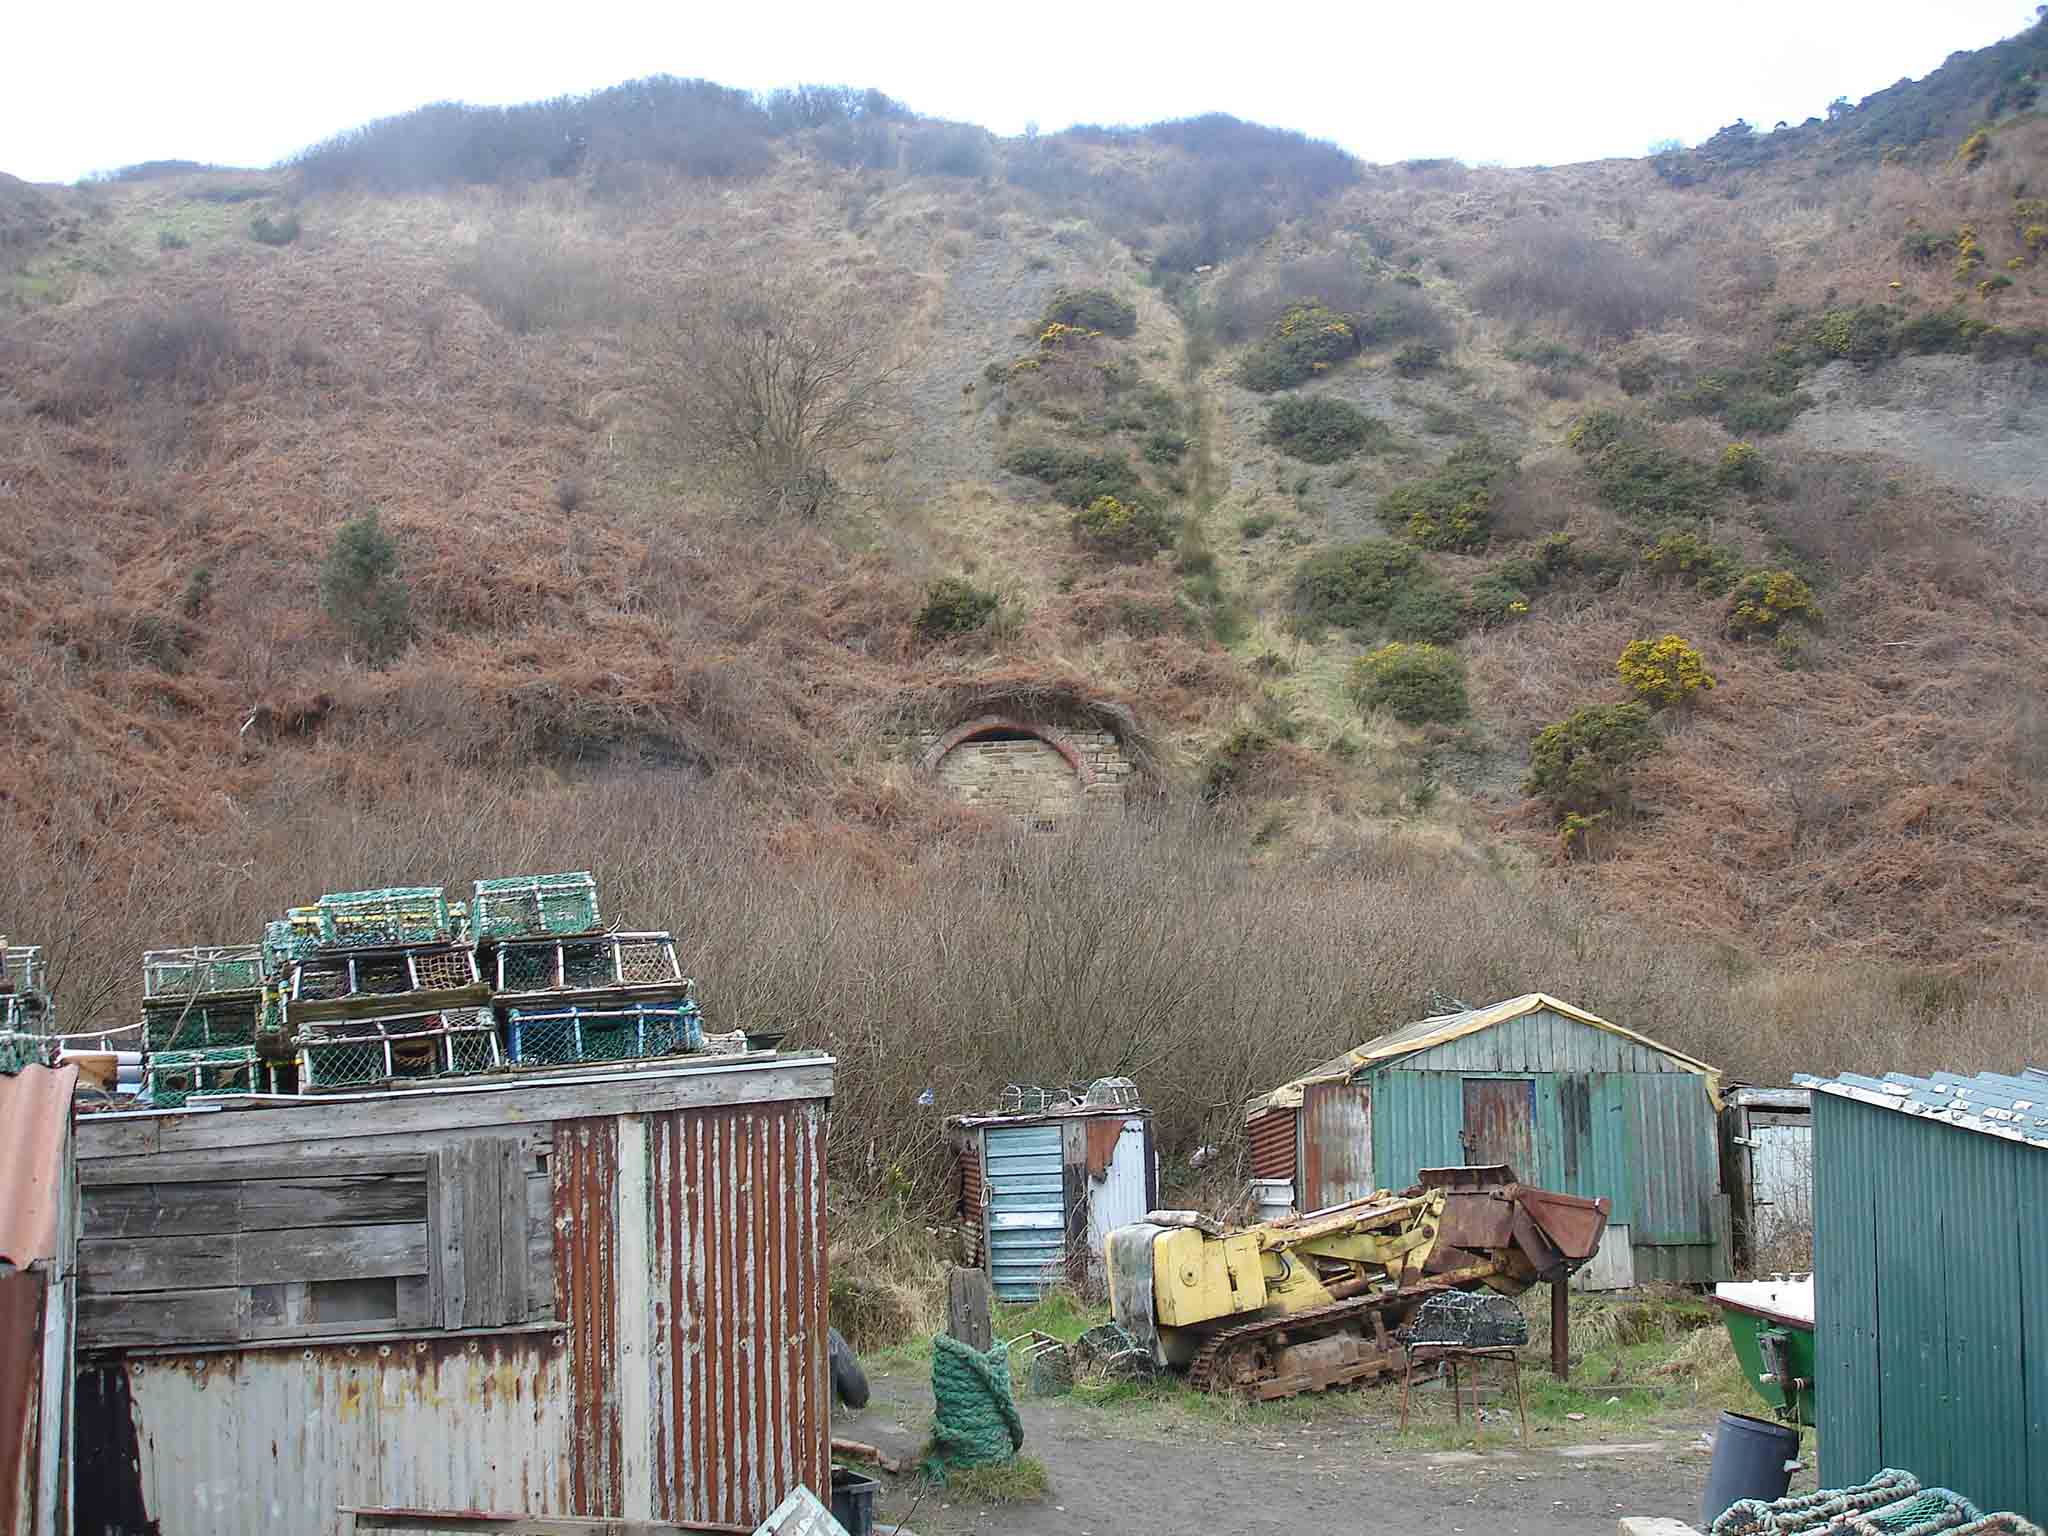
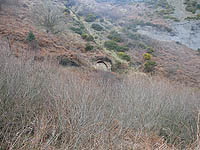
| Down the steps from the road above the cliff the portal peeps out at you (left lower middle) to build up the anticipation! |
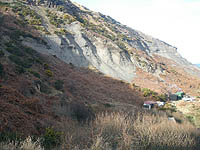
Better views can be had as you get furth along the path. It looks sealed though. |
From the bottom it still looks inaccessible - my heart sank! |
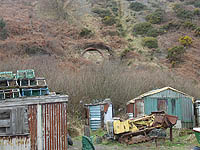
It's only when you get close you see the tiny hidden gateway. |
 |
 |
 |
 |
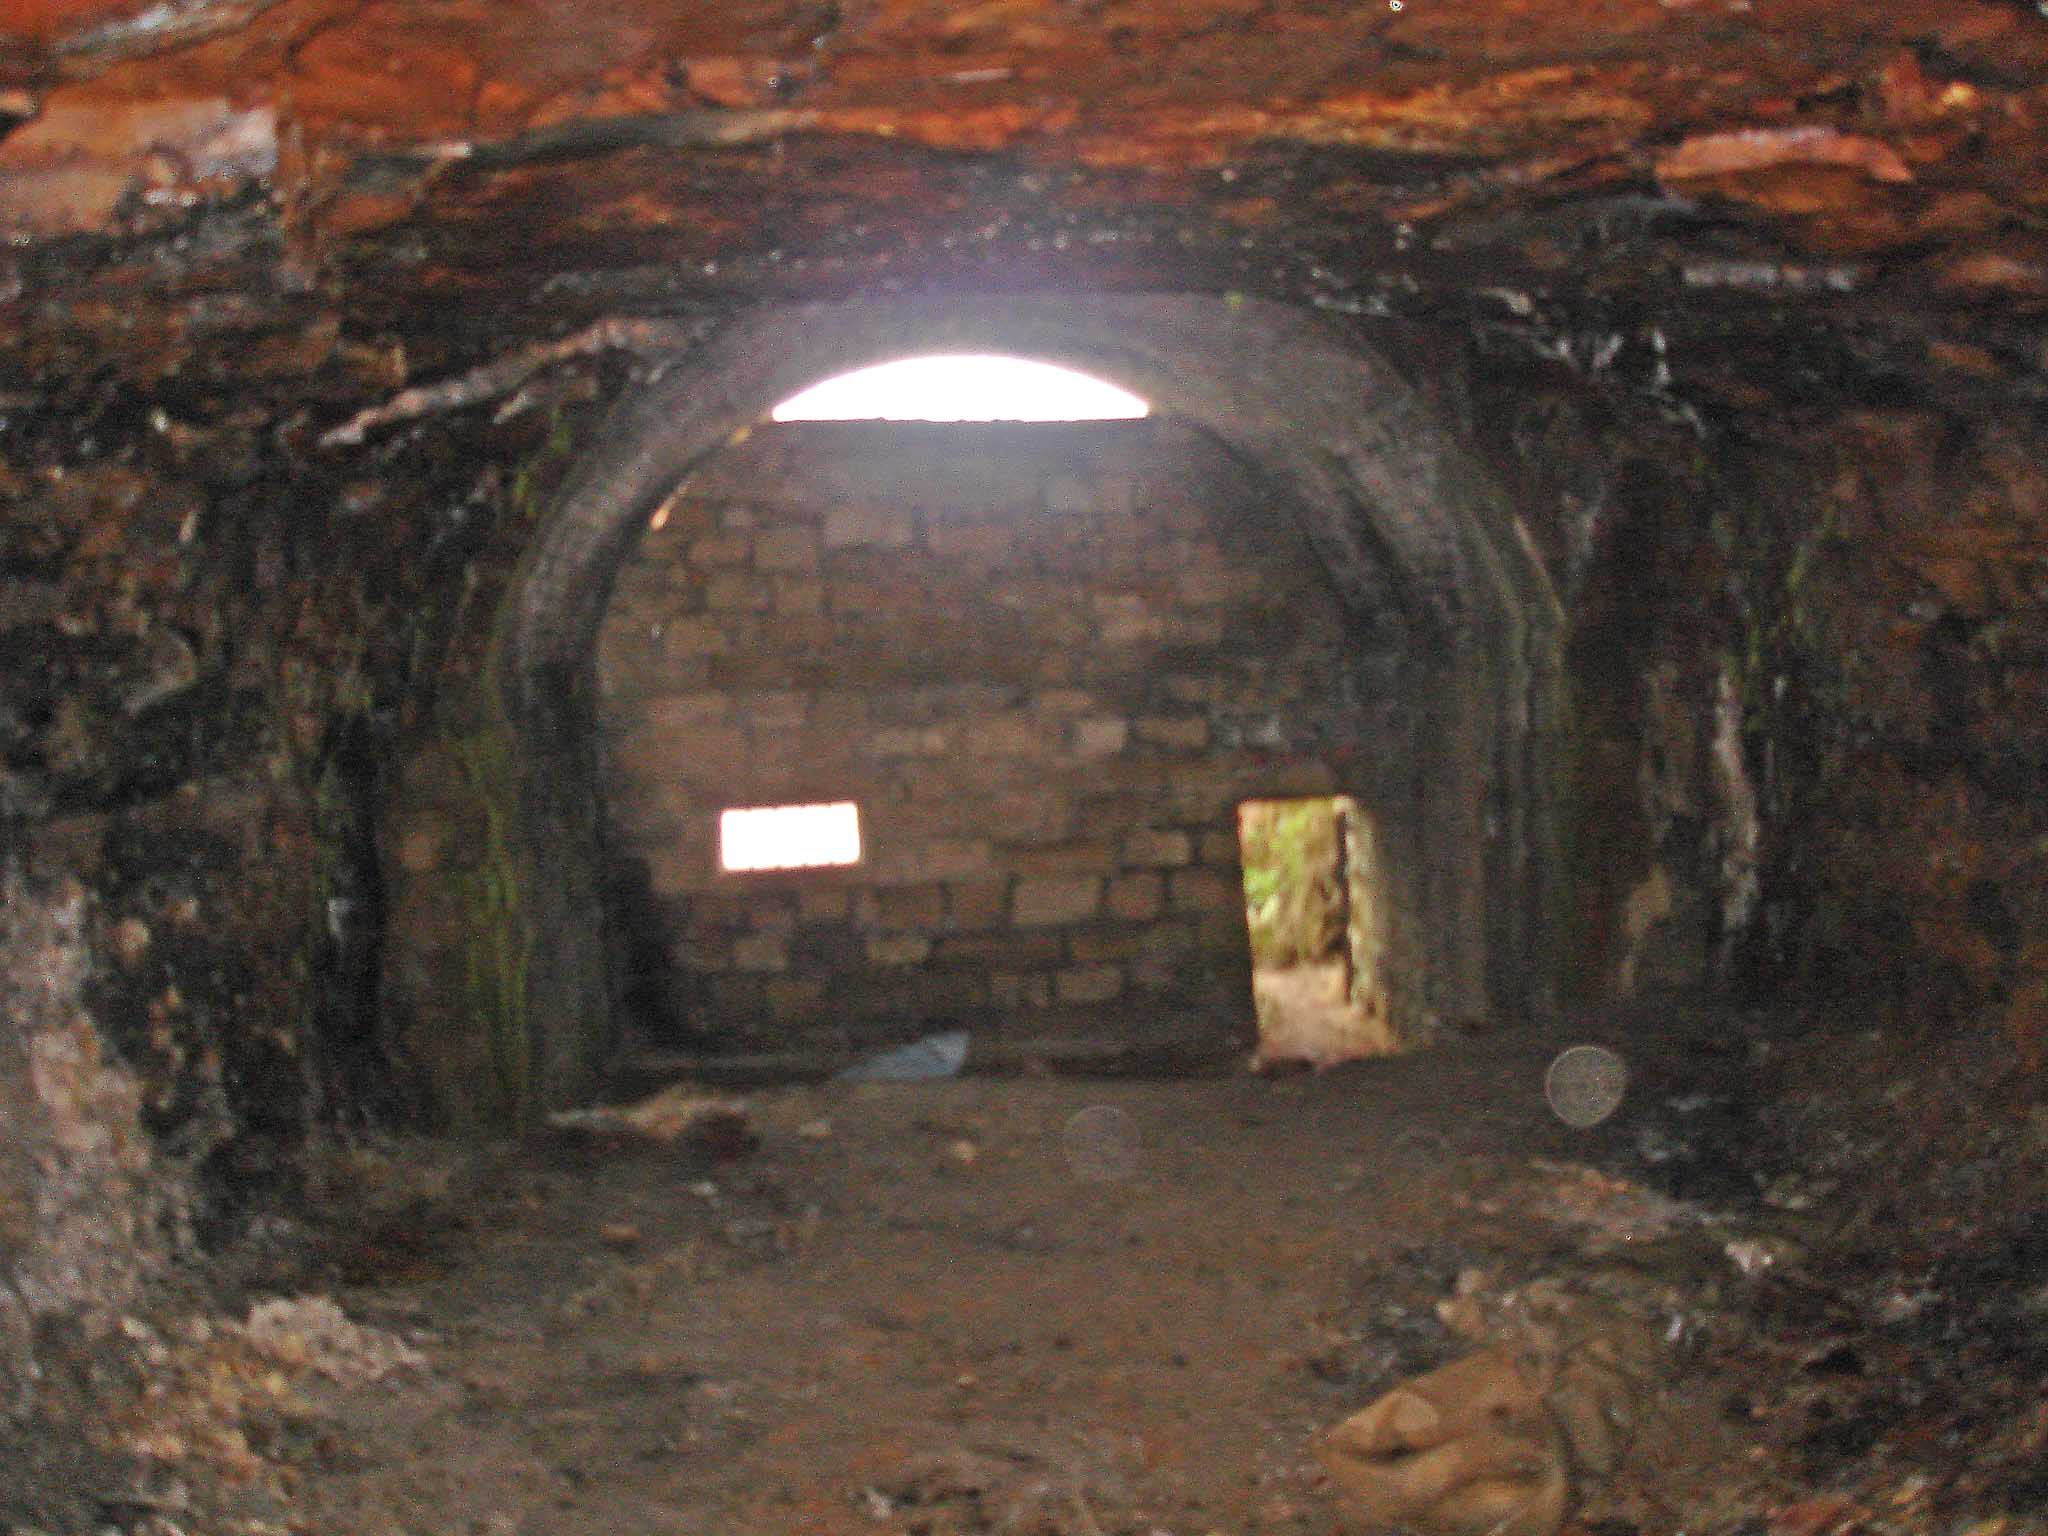
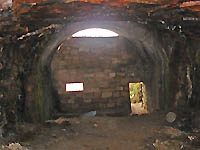
| Looking back from inside. |
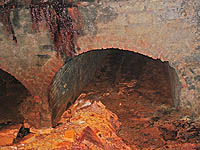
This is what greets you as soon as you get in... a collapse! |
On top of the collapse looking at the hole left in the ceiling. |
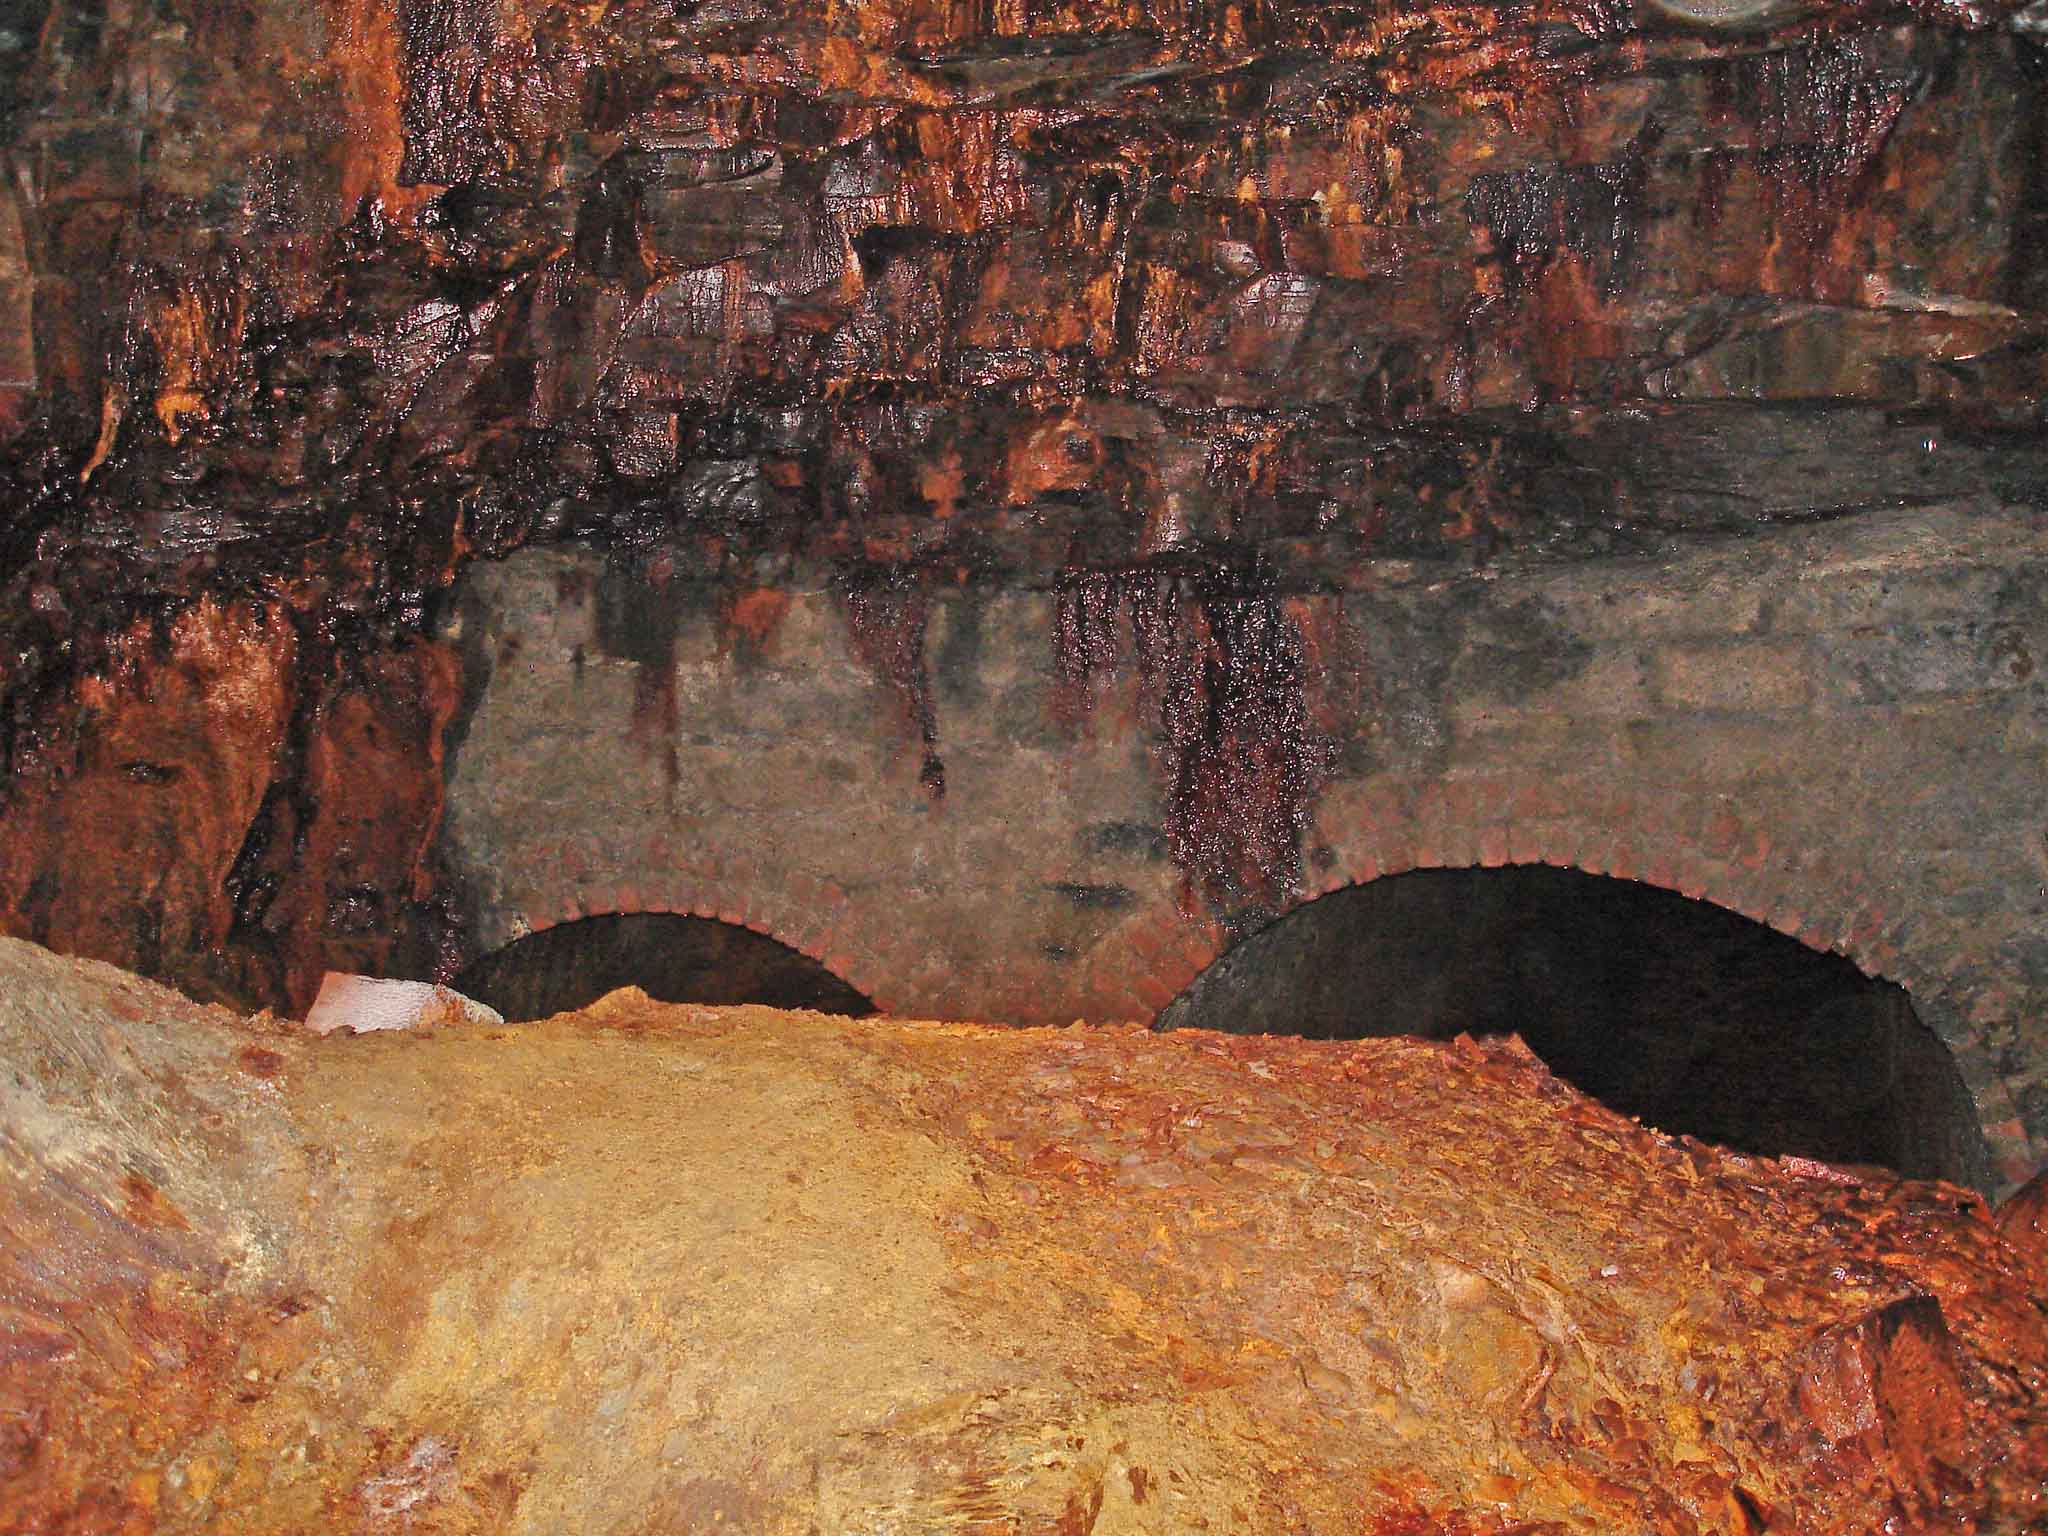
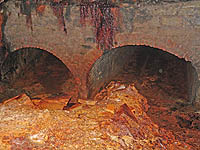
And looking down from teh top of the collapse you glimpse TWO portals! |
 |
 |
 |
 |
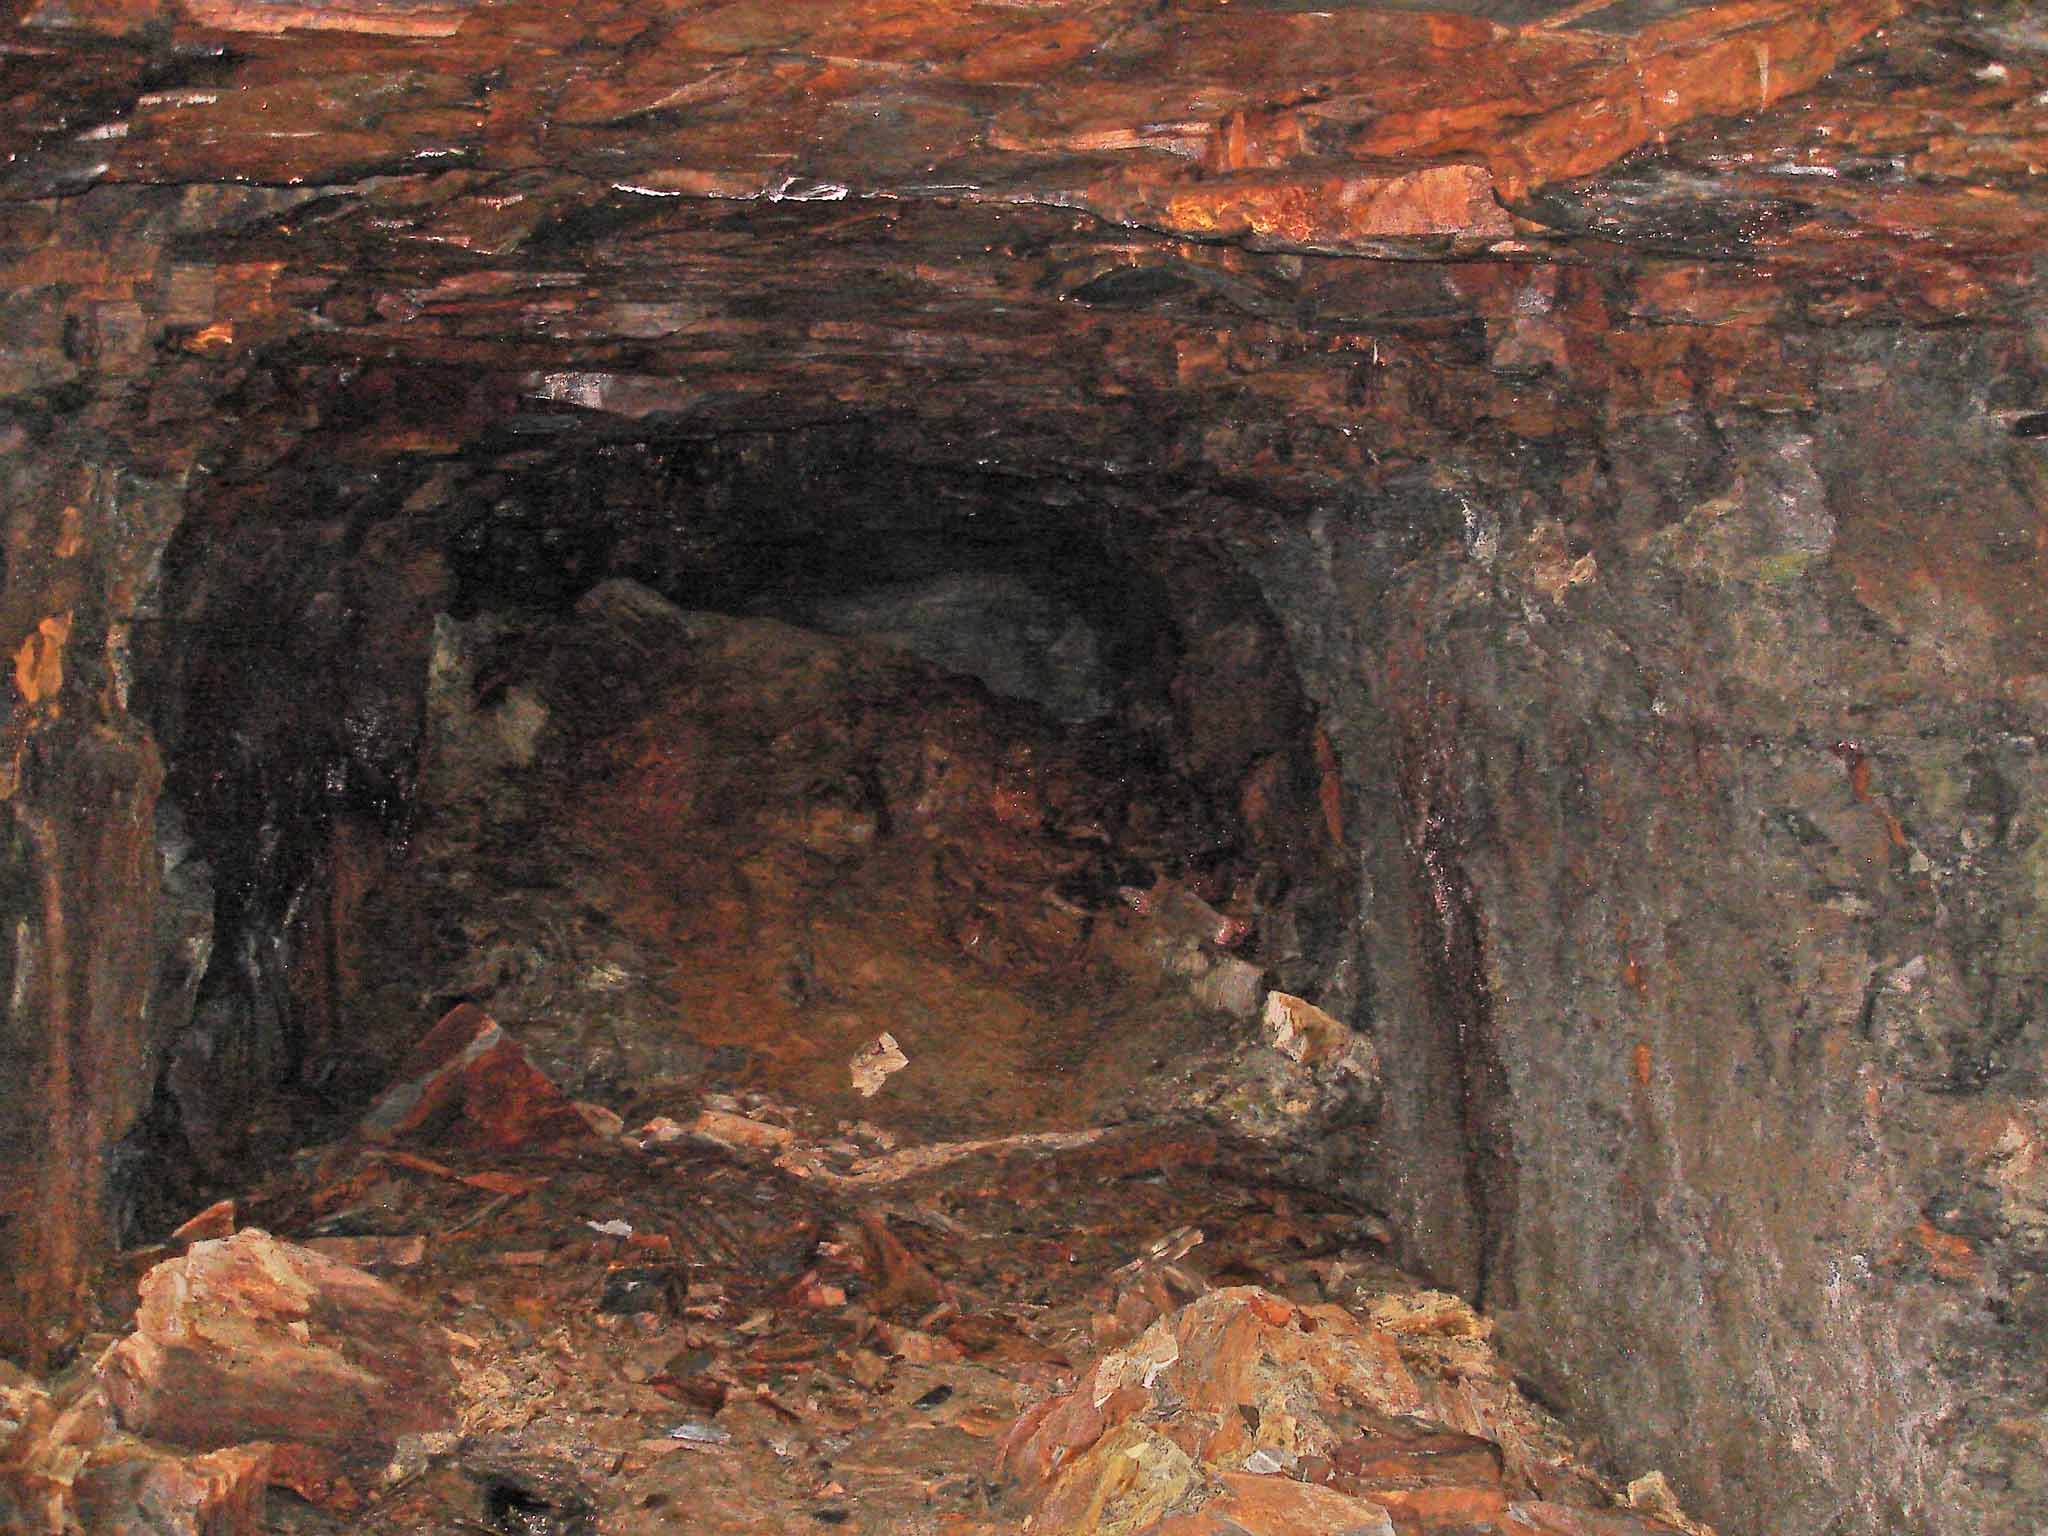
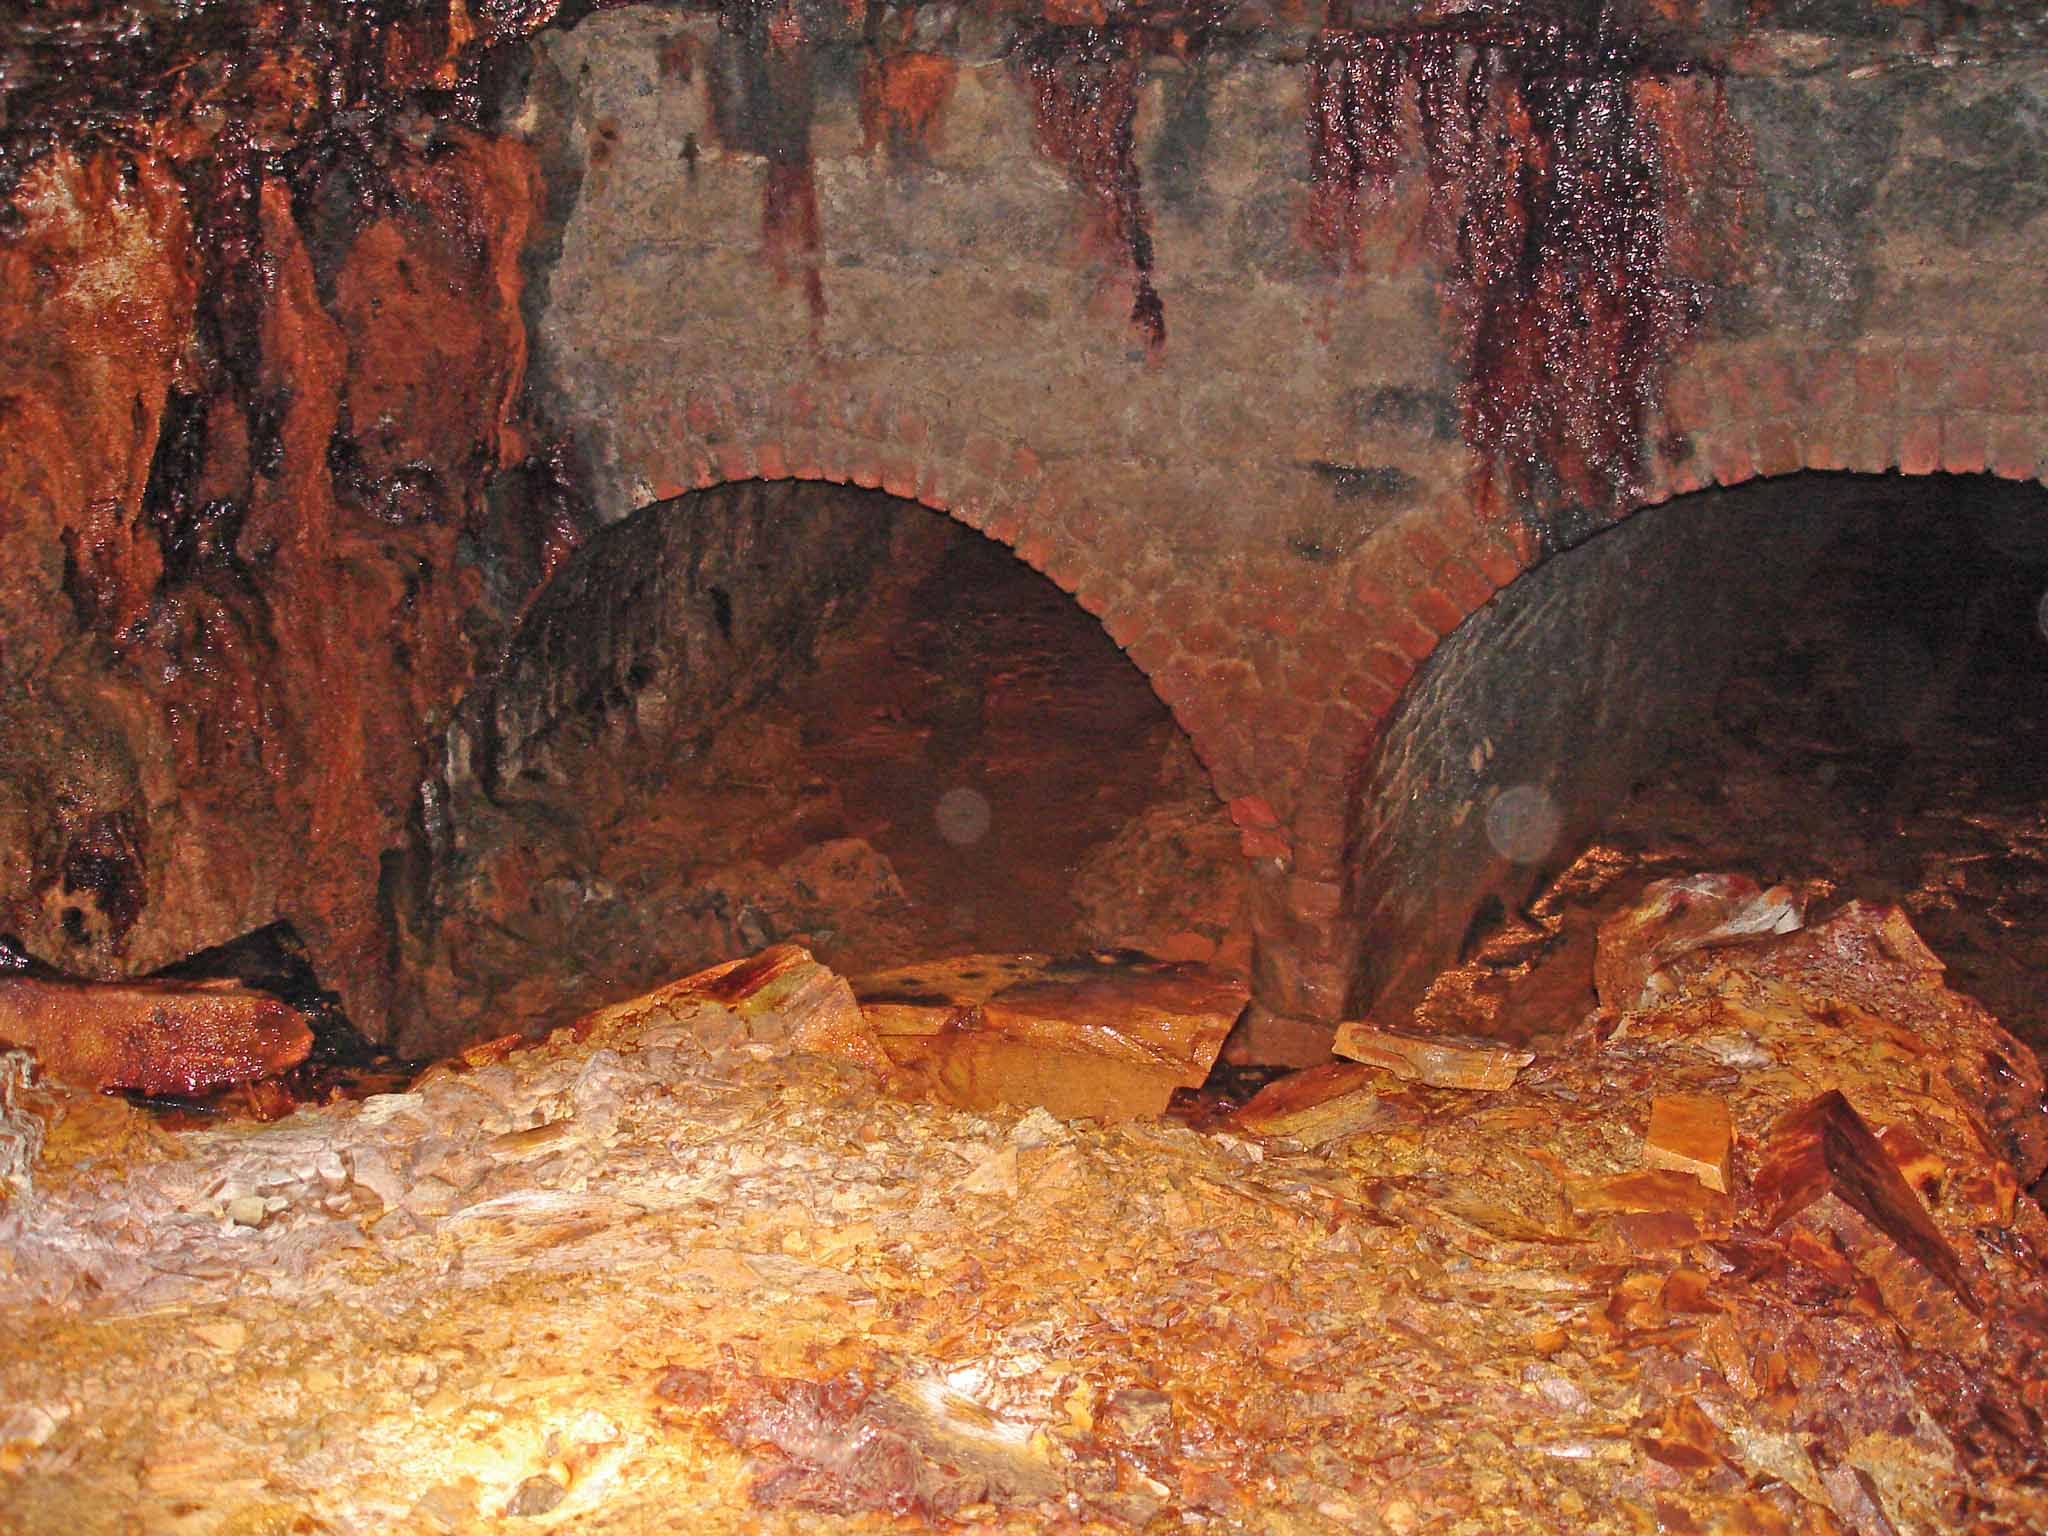
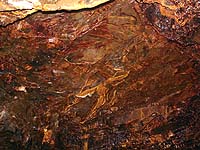
| Another view showing the collapse, the hole it has left in the ceiling and the wall above the portals. |
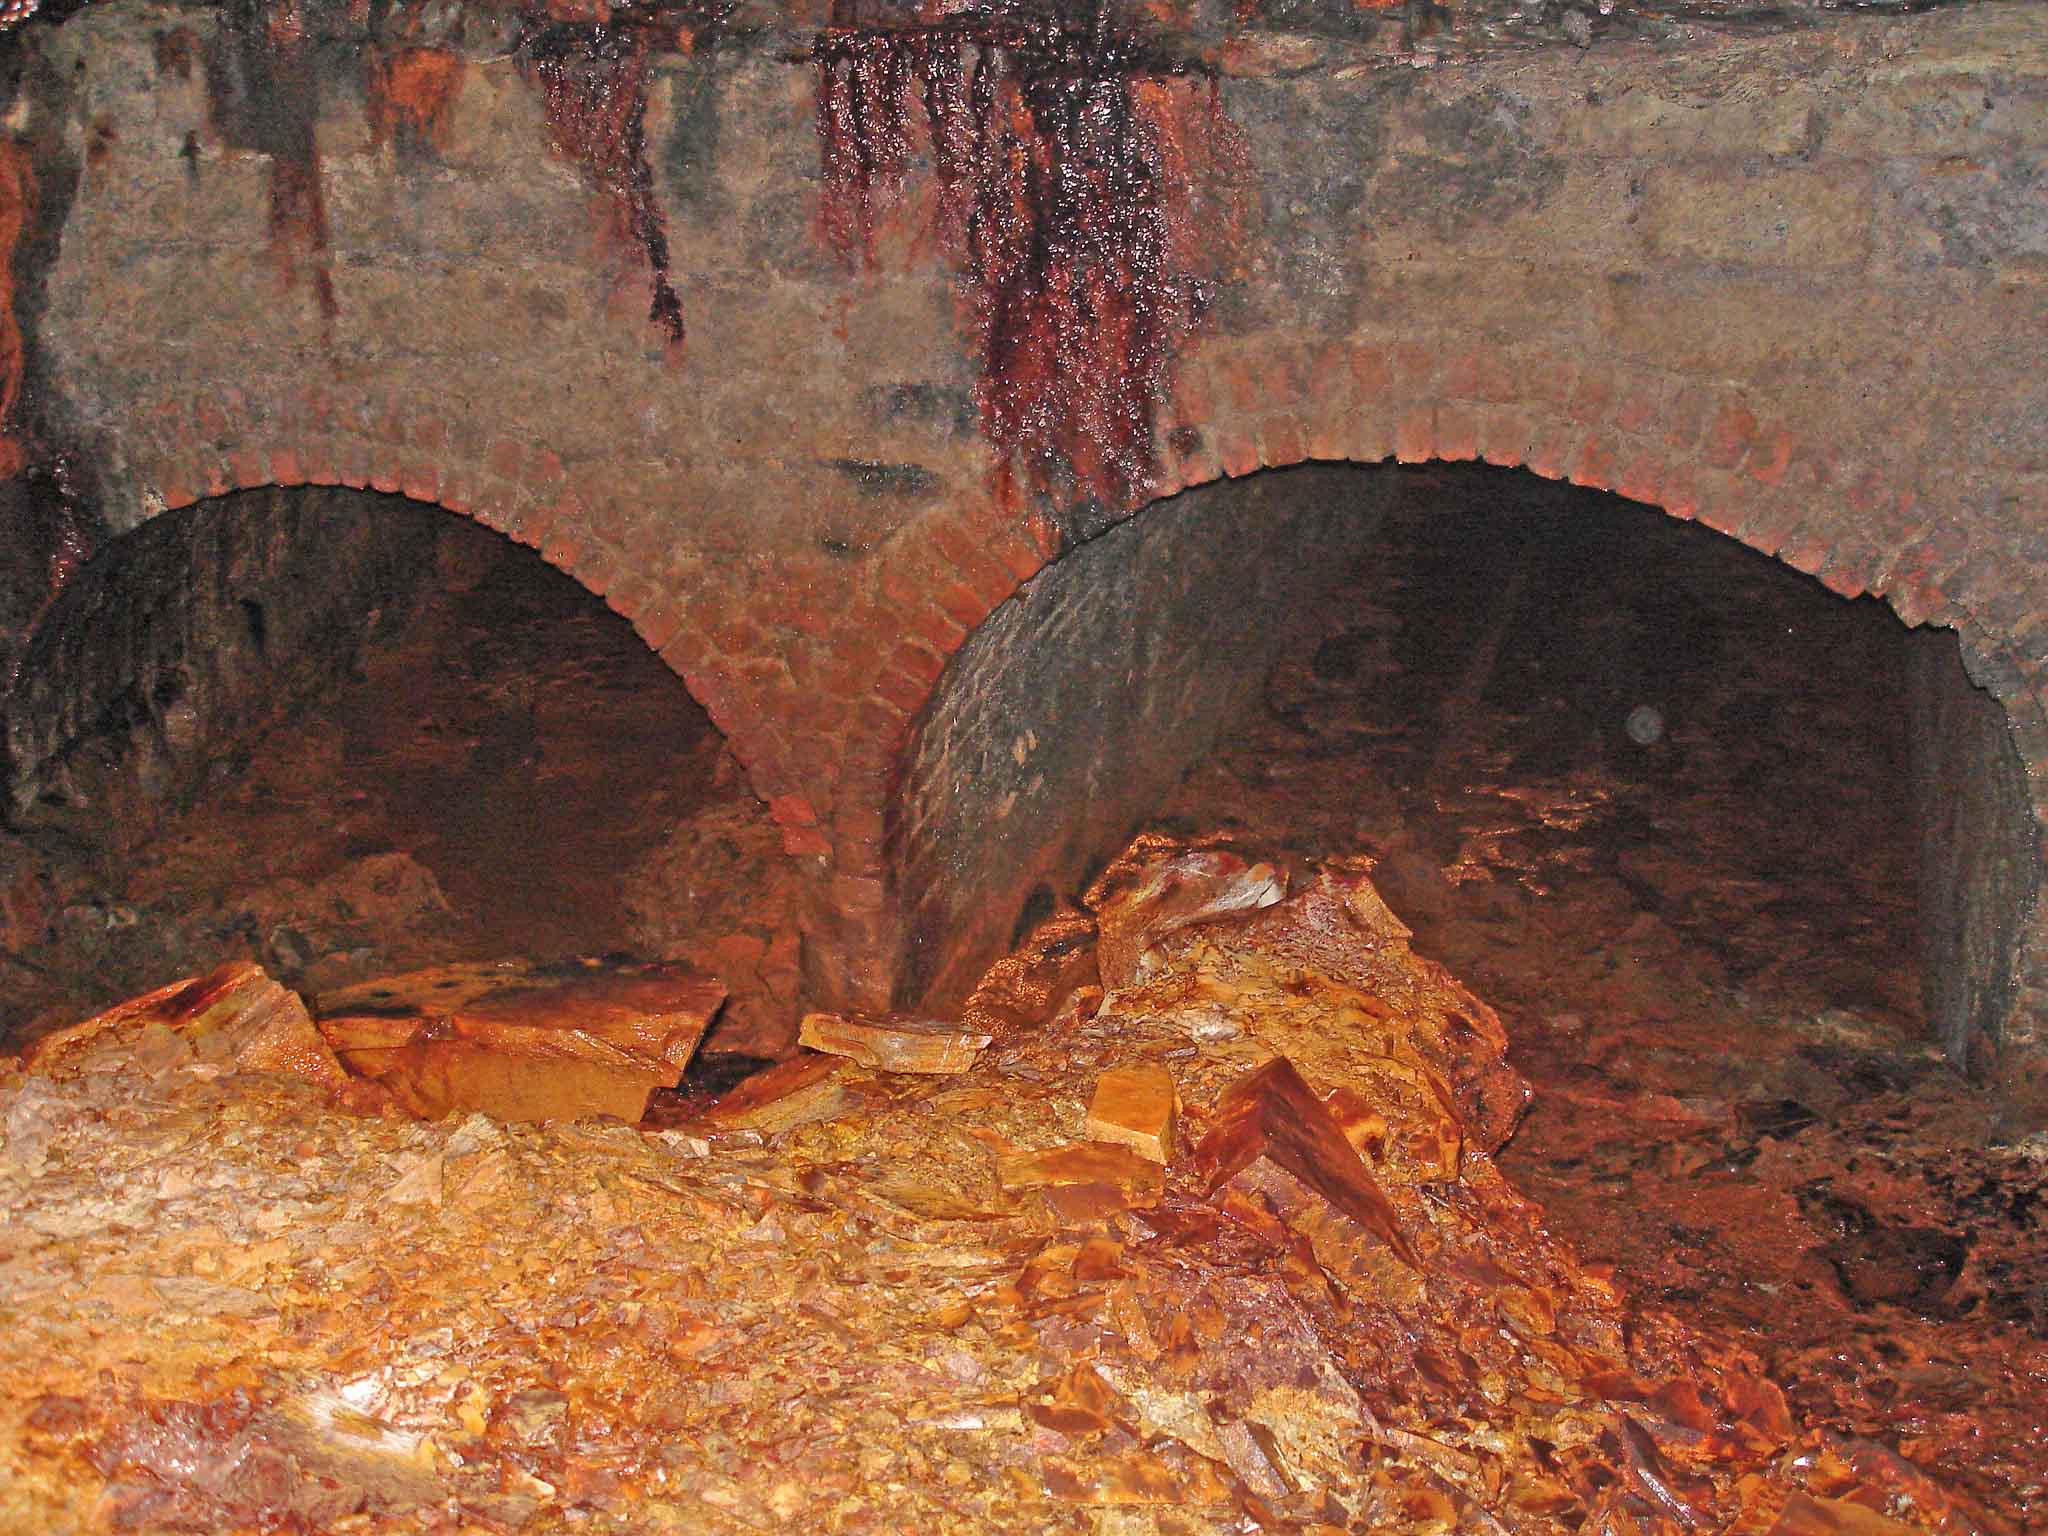
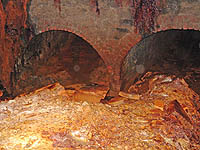
The two portals from the top of the collapse. |
The rail can just be seen under the water in the right portal. |
The left portal is smaller and believed to be for drainage. |
 |
 |
 |
 |
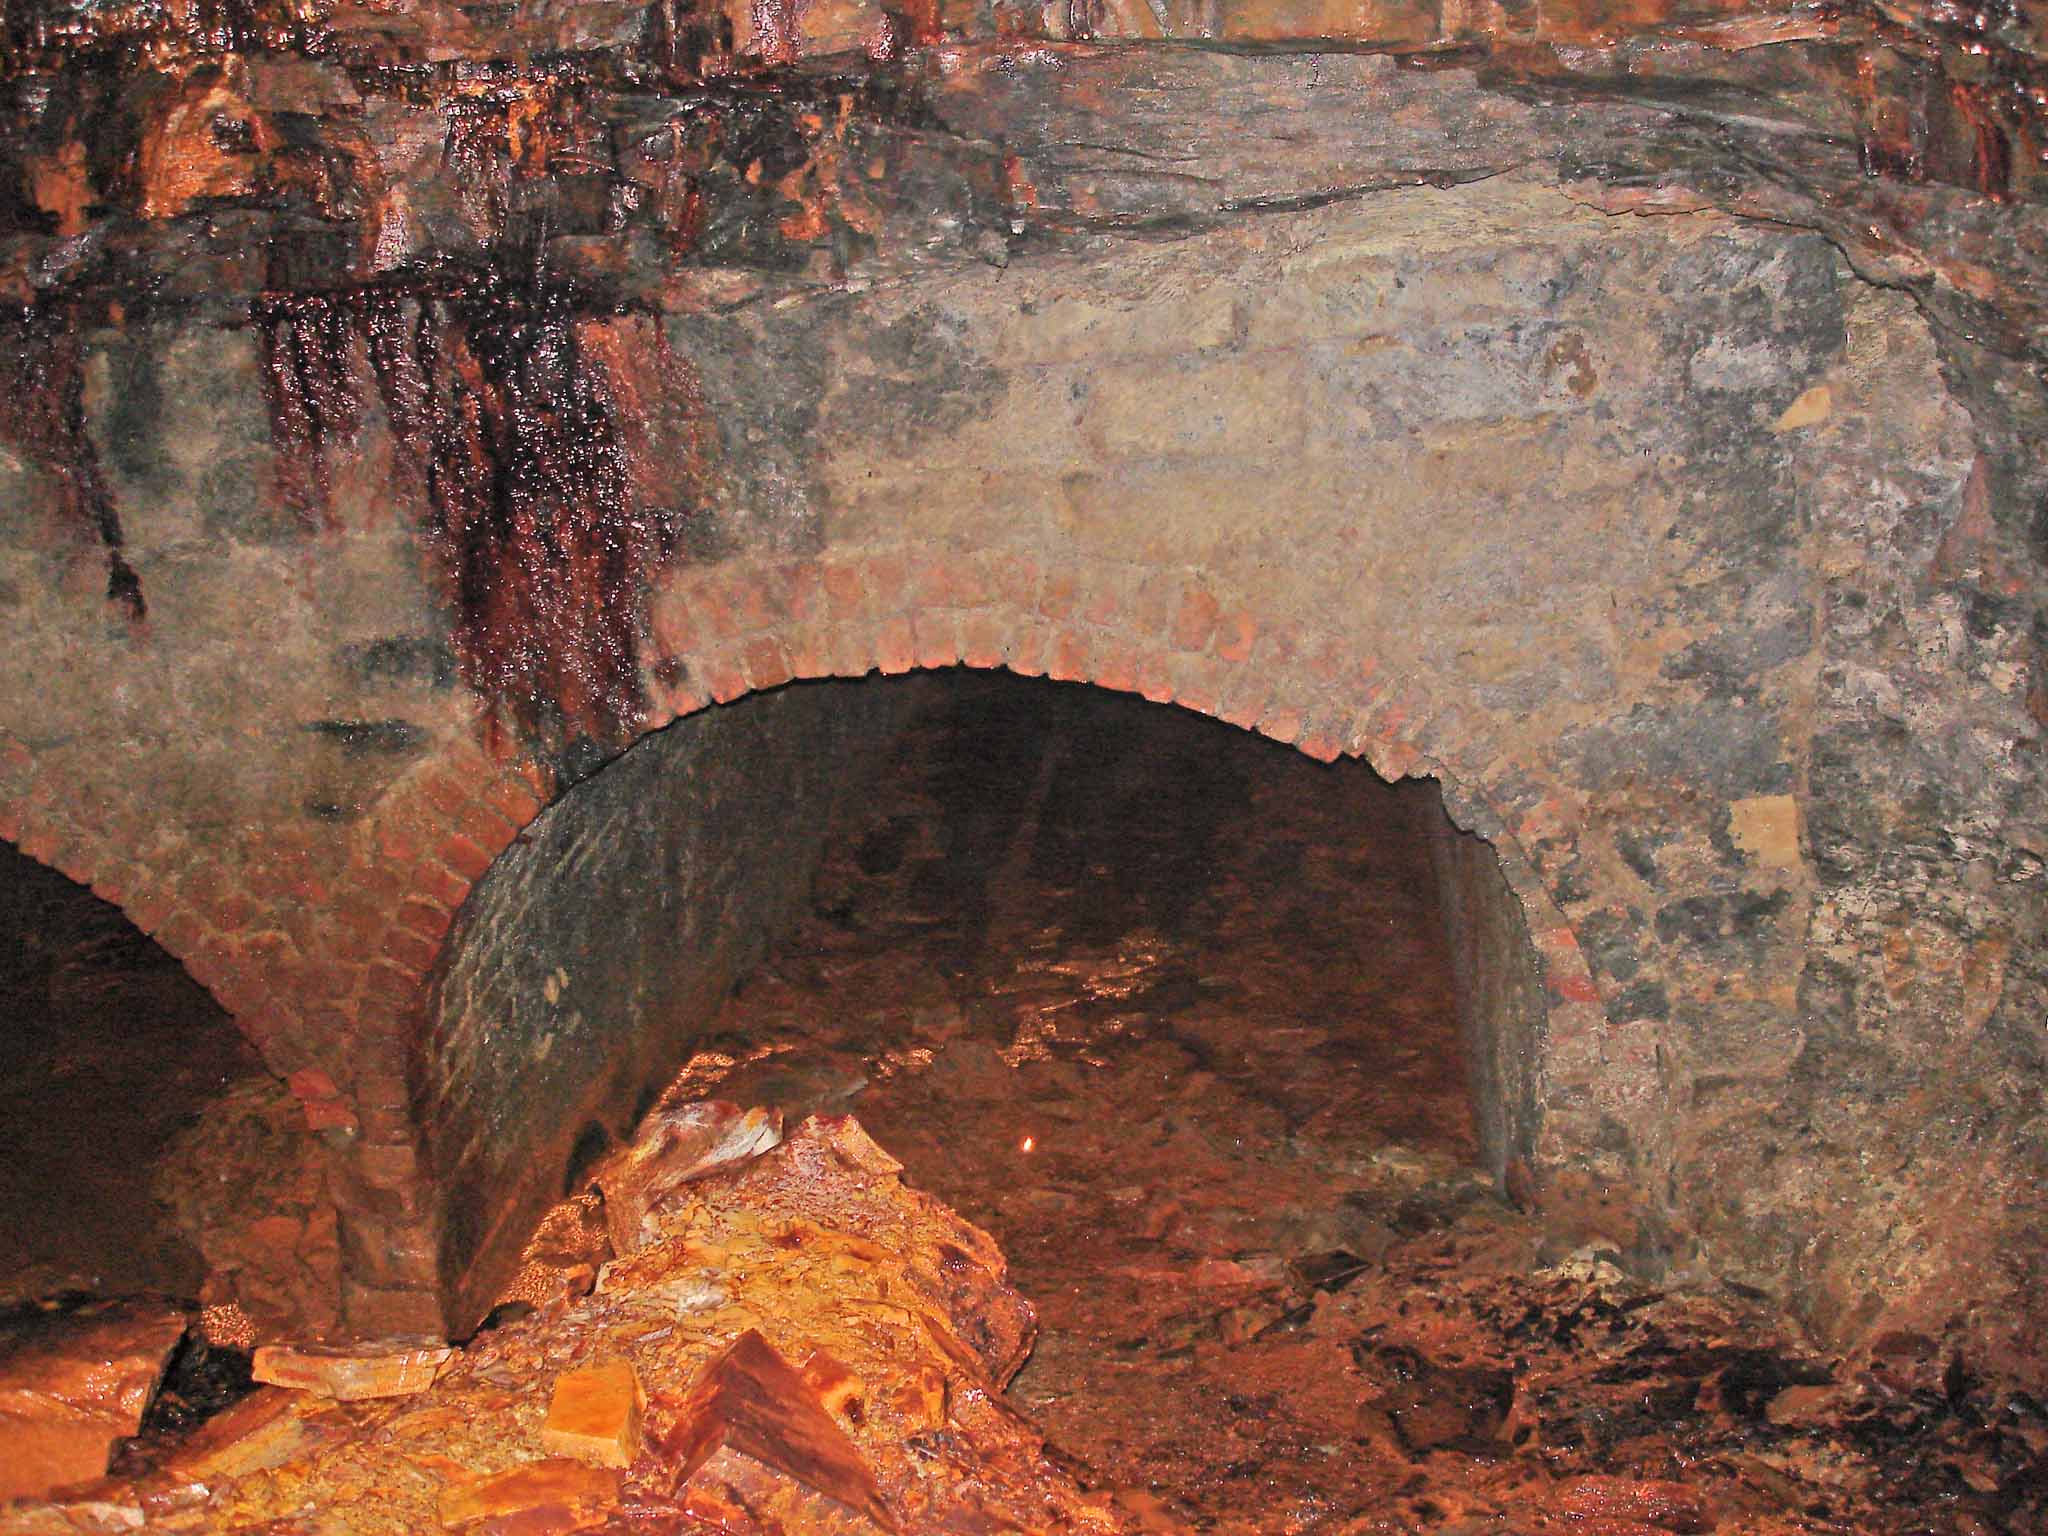
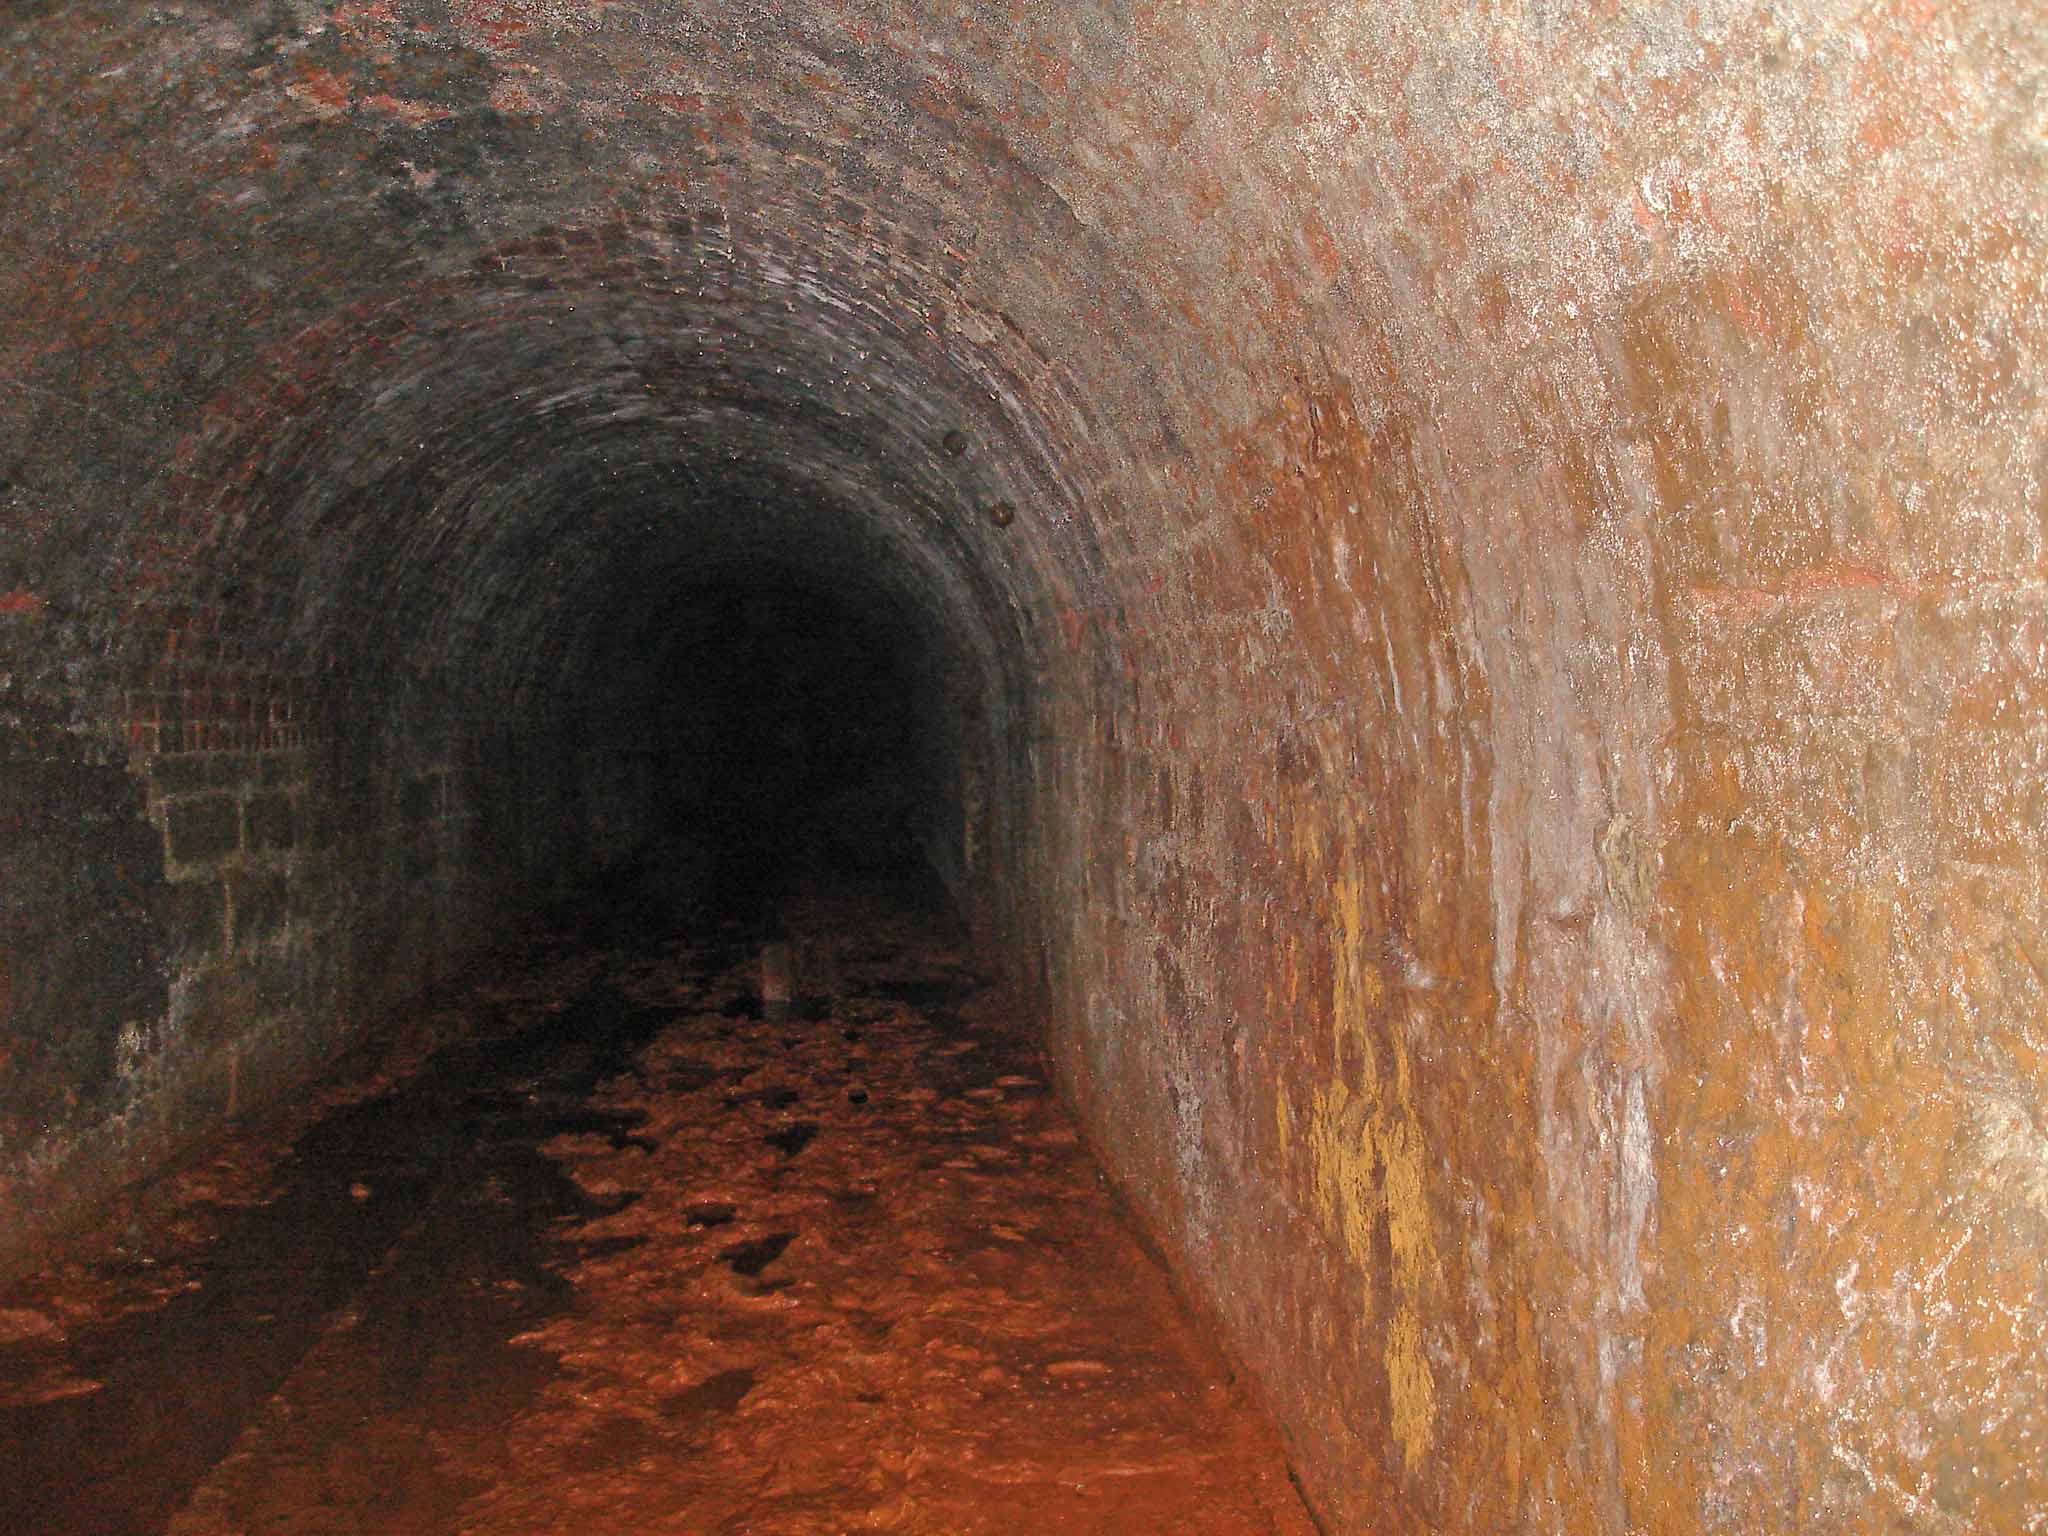
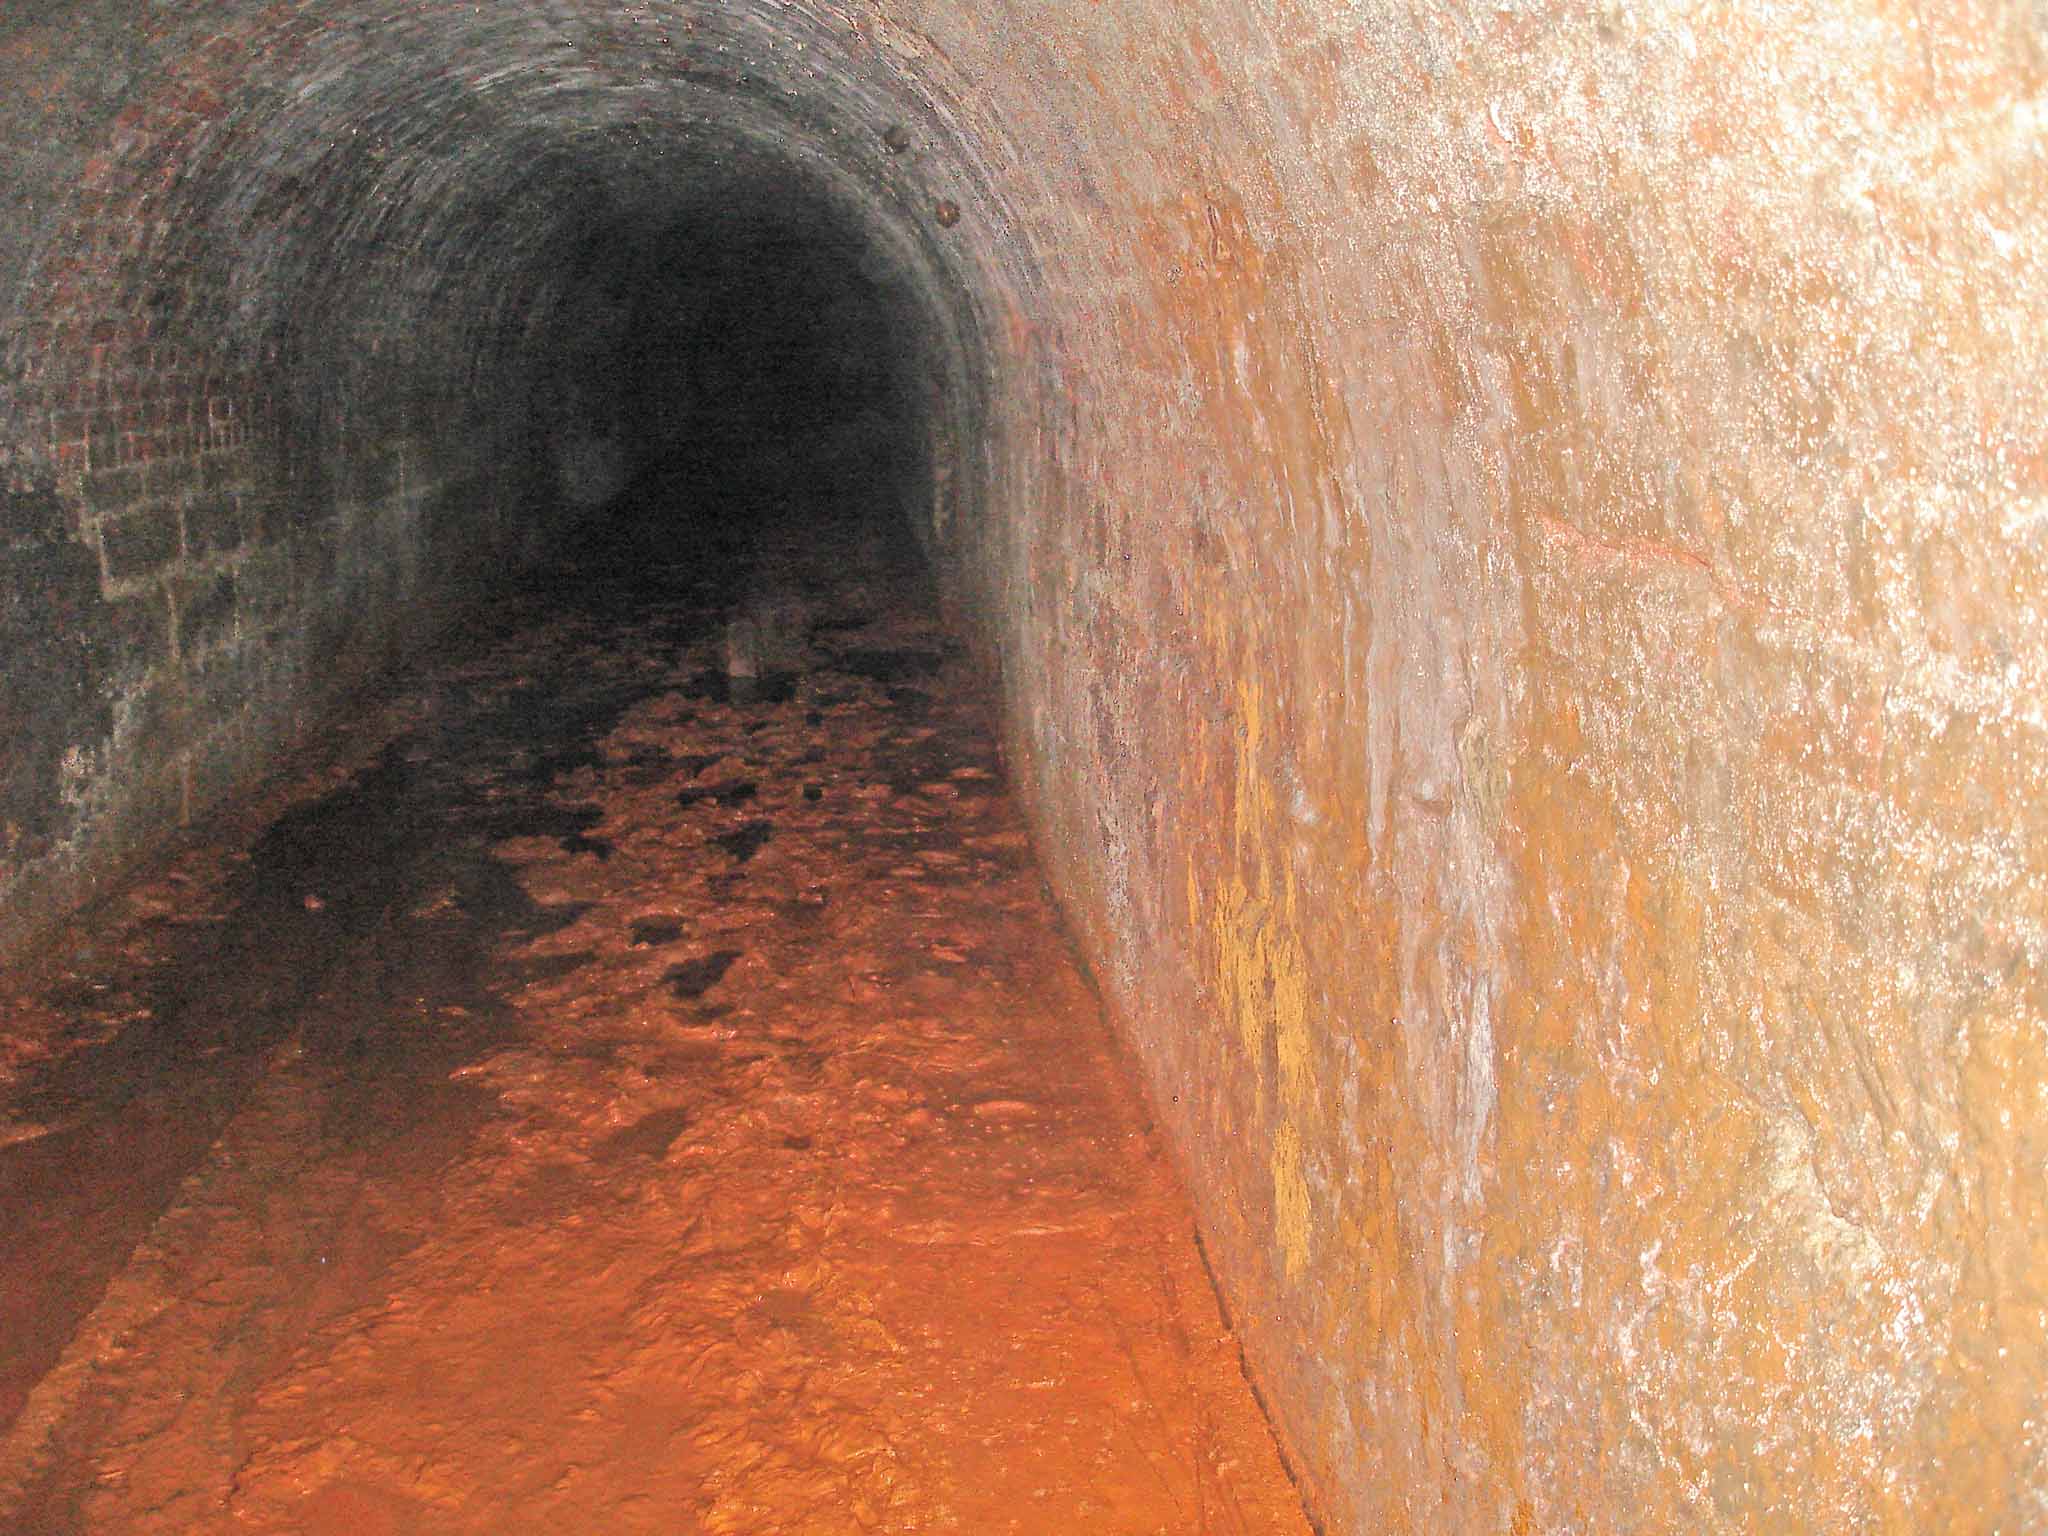
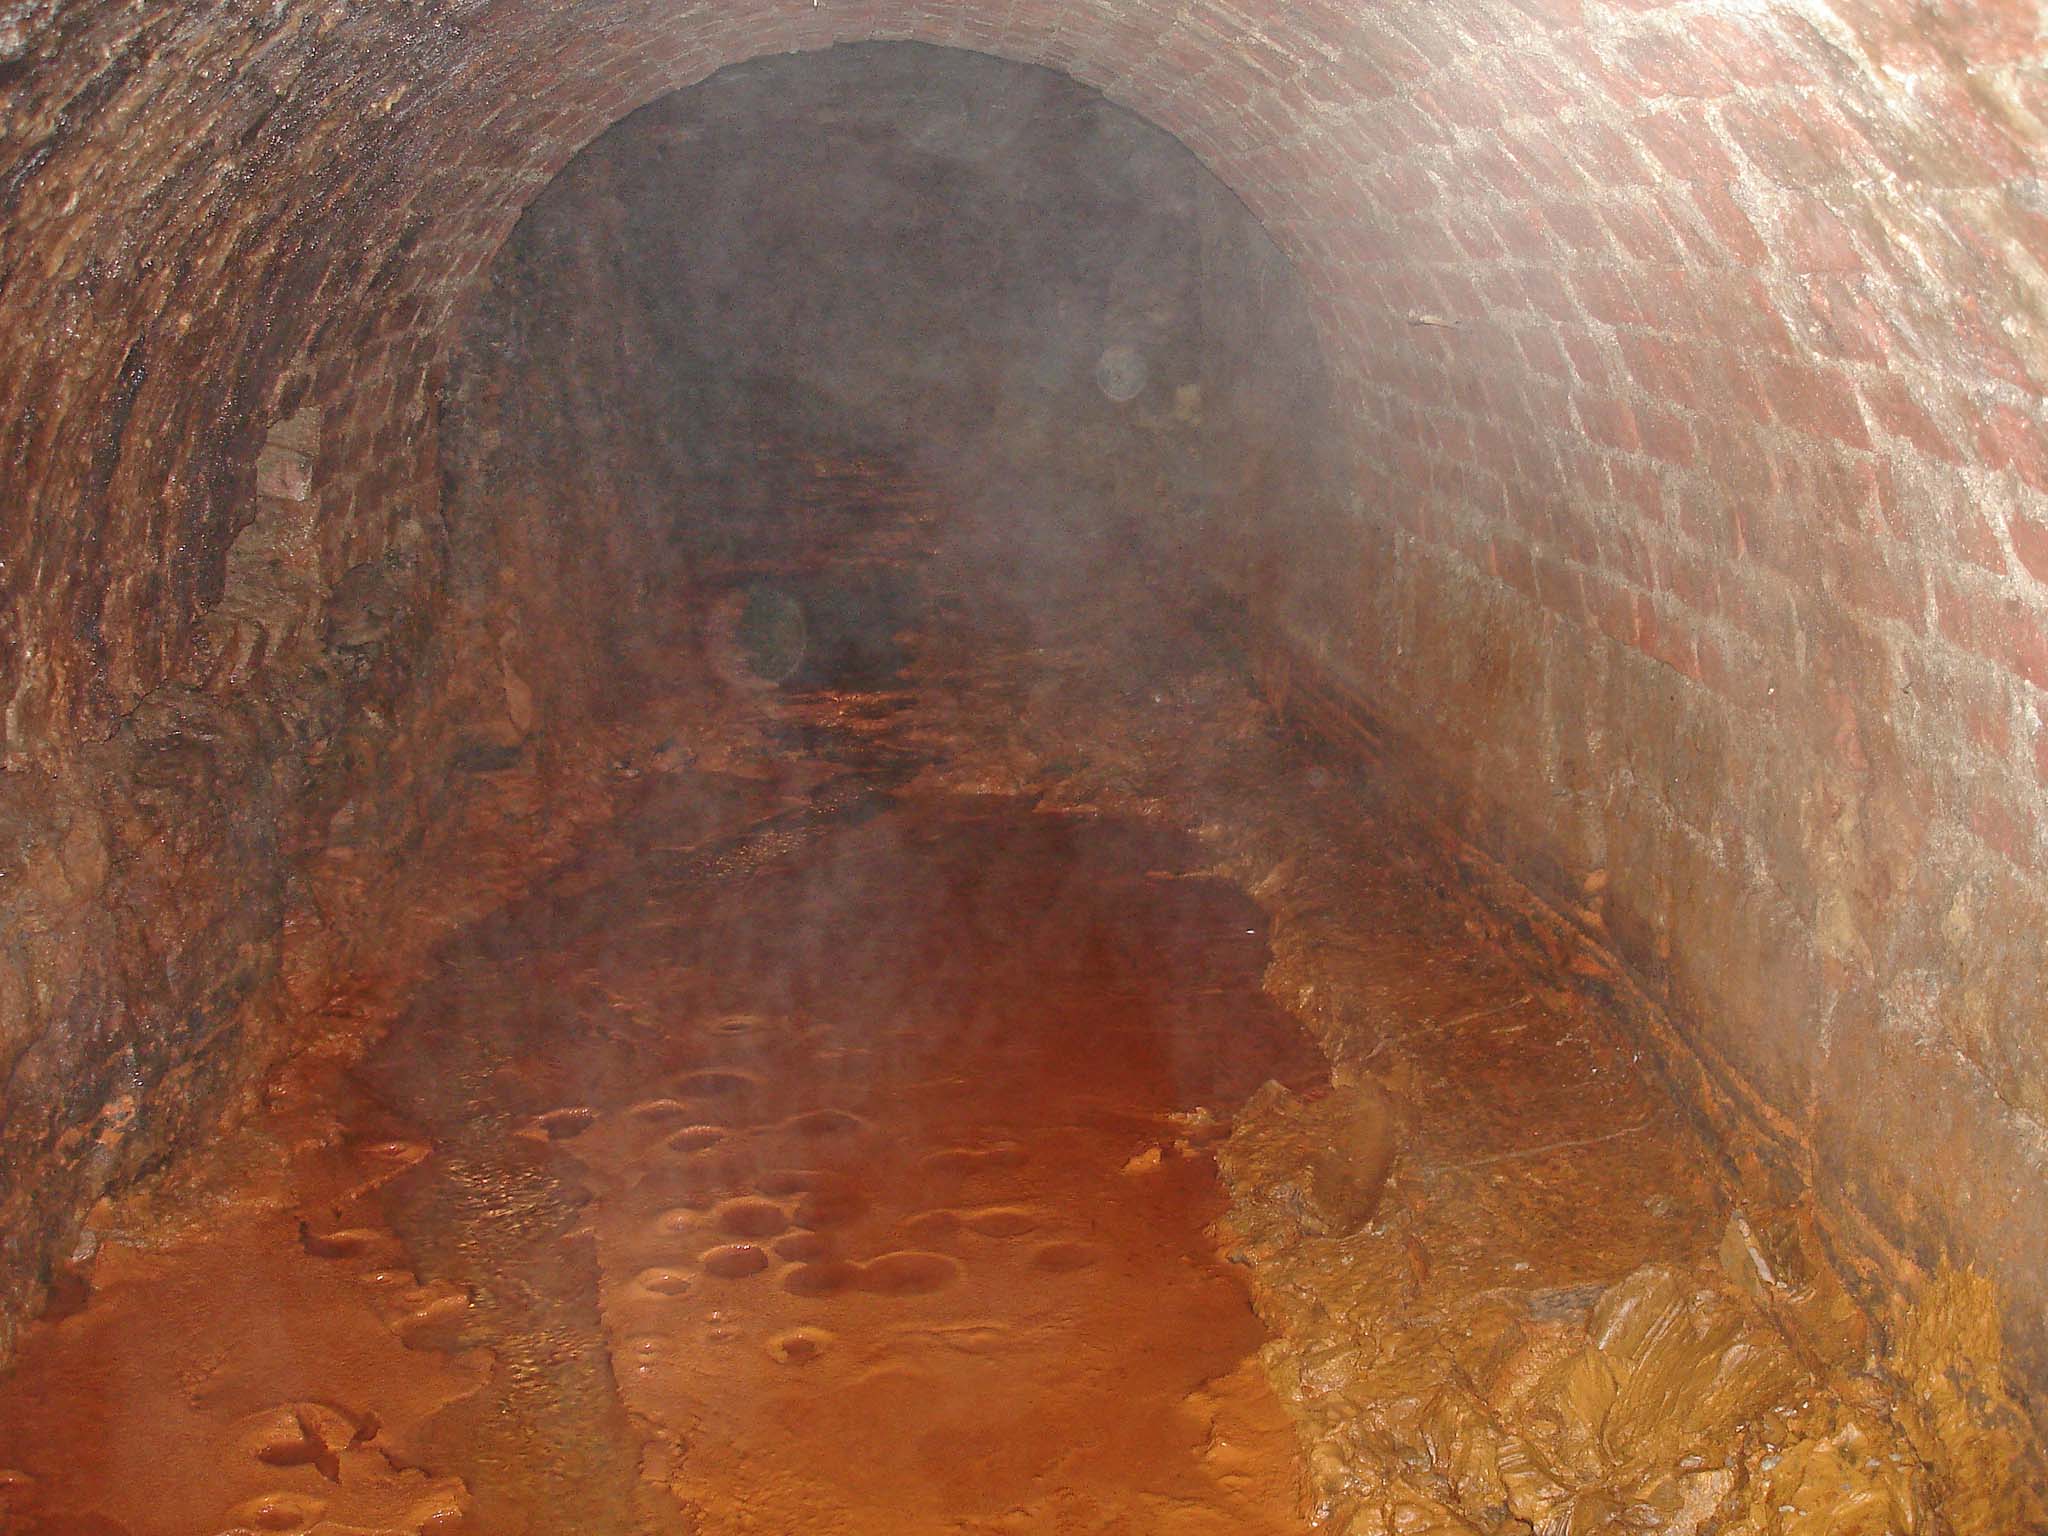
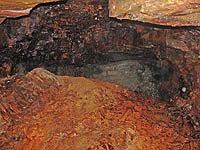
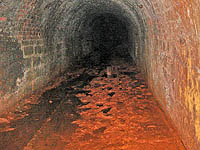
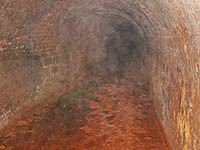
| Looking into the darkness from just into the mud insode the right portal. Note the rail. |
Ditto. |
Ditto again. |
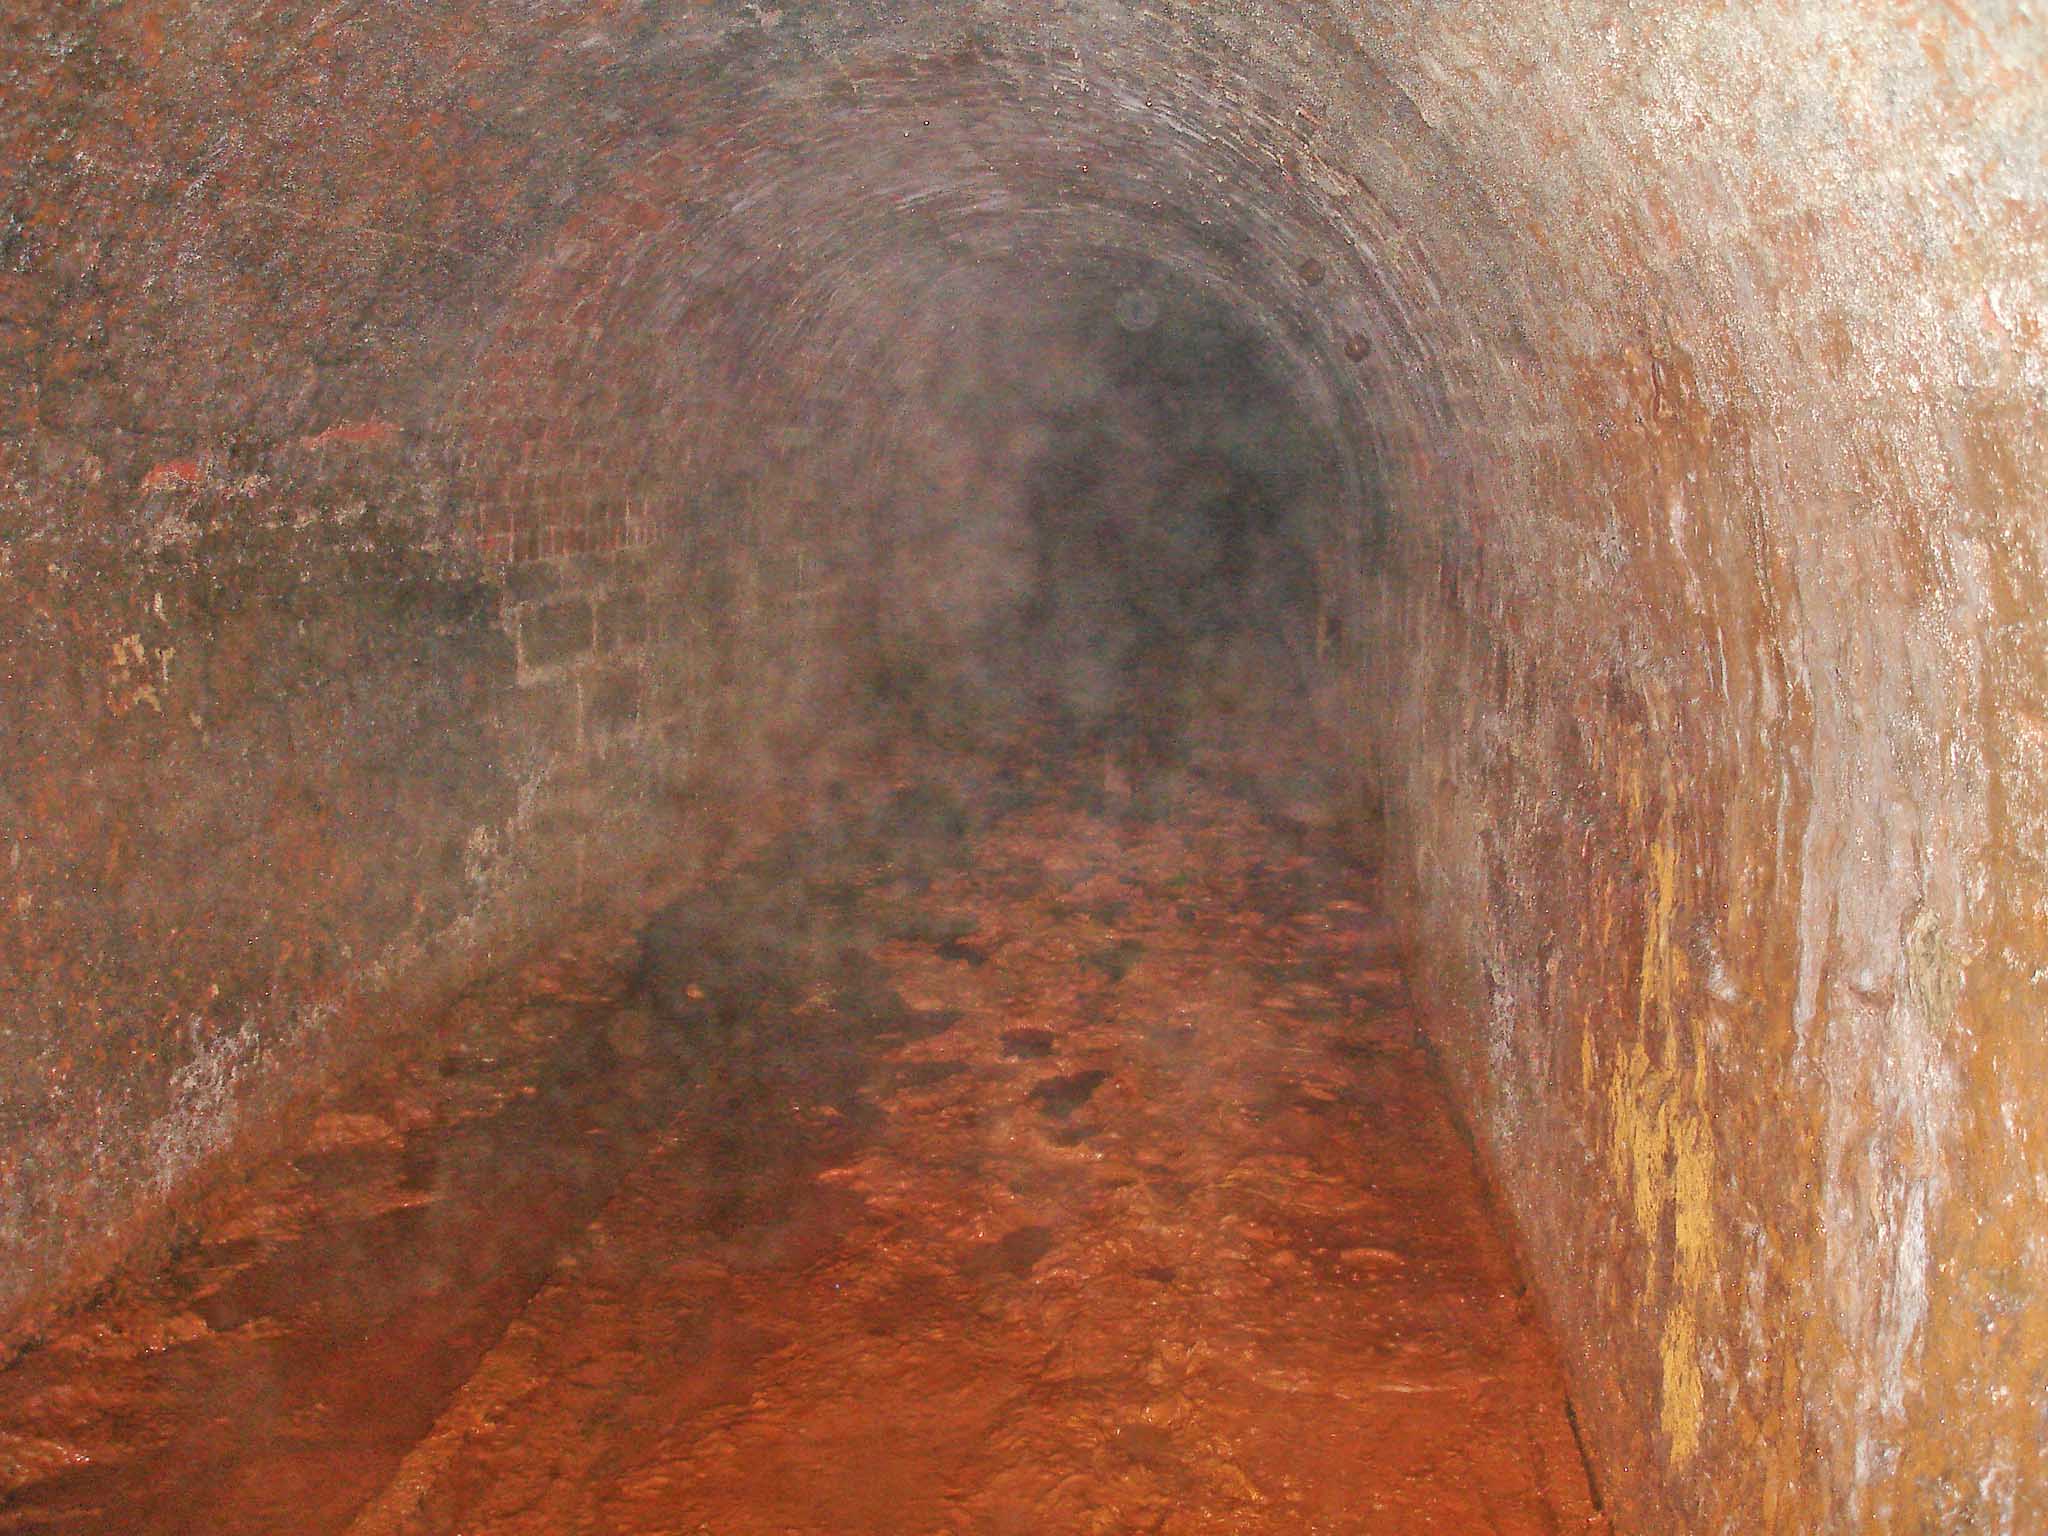
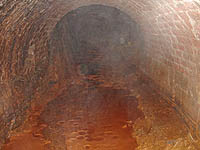
A quick snap along the left (drainage?) tunnel, the mud here was much deeper. Water was flowing from the main tunnel round the wall between the two and into this one. |
| Back to 2nd February 2008. Port Mulgrave & Sandsend Line |